
4 Simple Ways to Design a Beautiful and Timeless Family Photo Book
I’m a big believer in getting our photos off of our devices, printed, and accessible for ourselves and the people who matter most to us.
That’s certainly the priority.
But we’ve all been there with certain decisions that, after some time, can feel dated - whether in our home, wardrobe, or even our photo projects.
There’s a difference between some of the early memory keeping projects I attempted and the vintage feel of my mom’s old photo albums. Hers definitely have a “dated” feel - but it’s charming, not cheesy.
I don’t think it’s necessary or even possible to make our photo projects time-proof, but I look to design books, cookbooks, and even my mom’s old albums to get inspiration for design that will withstand the test of time and feel classic many years down the road.
Here’s what I’ve gleaned.
1 | Include fewer photos
The surest way to elevate the style of a photo book is to include fewer photos.
You’ll have lots of pages with big, bold pictures filling the page. You’ll even have spreads where one photo fills two pages, immersing you in the memory.
I like to include one to four photos on a page. That keeps the design very simple and the project from feeling overwhelming to flip through.
I love the albums my mom has with 4x6 snapshots printed from rolls of film we used to take to the local photo lab. They’re bound or in three-ring binders with leather covers in various shades of “library book" - emerald green, burgundy, cognac.
Each page has three photos on either side of the layout, with a small space for a caption. Usually, my mom just wrote the event or date on the first photo in a series and that was it.
The small number of photos means we keep reaching for those albums year after year, which is exactly what I want for the projects I create today.
Further reading: 7 steps to organize, narrow down, and select the best photos for a photo book
2 | Incorporate white space
A single photo (or two) framed in white space on a page draws you in, has a calming effect, and feels timeless.
Think of white space as a design element. You can use it in some places, and fill the page in others.
But it does give your eye a rest, a break, between photos.
One of my favorite coffee table books is California Surfing and Climbing in the Fifties (note: it certainly didn’t cost this much when I purchased it years ago!).
It’s a large size, and with few exceptions, each page has one vintage photo at the center, surrounded by lots of white space. There’s a small caption beneath the photo and that’s it.
The photos aren’t exclusively captured by professional photographers. Some are simple snapshots, decades-old and grainy.
But the book tells the story, through photos, of the folks who pioneered the climbing movement in California’s Yosemite Valley back in the fifties.
There are so few words in the book, but it transports you back to a completely different time - no fancy or fluffy design elements needed.
Just a hefty amount of white space and a few carefully-selected photos.
Further reading: How to design a photo book (my complete client process)
3 | Include text sparingly
If you think about your photo book projects as a design book or coffee table book, consider writing an introduction and then filling the pages with (primarily) photos.
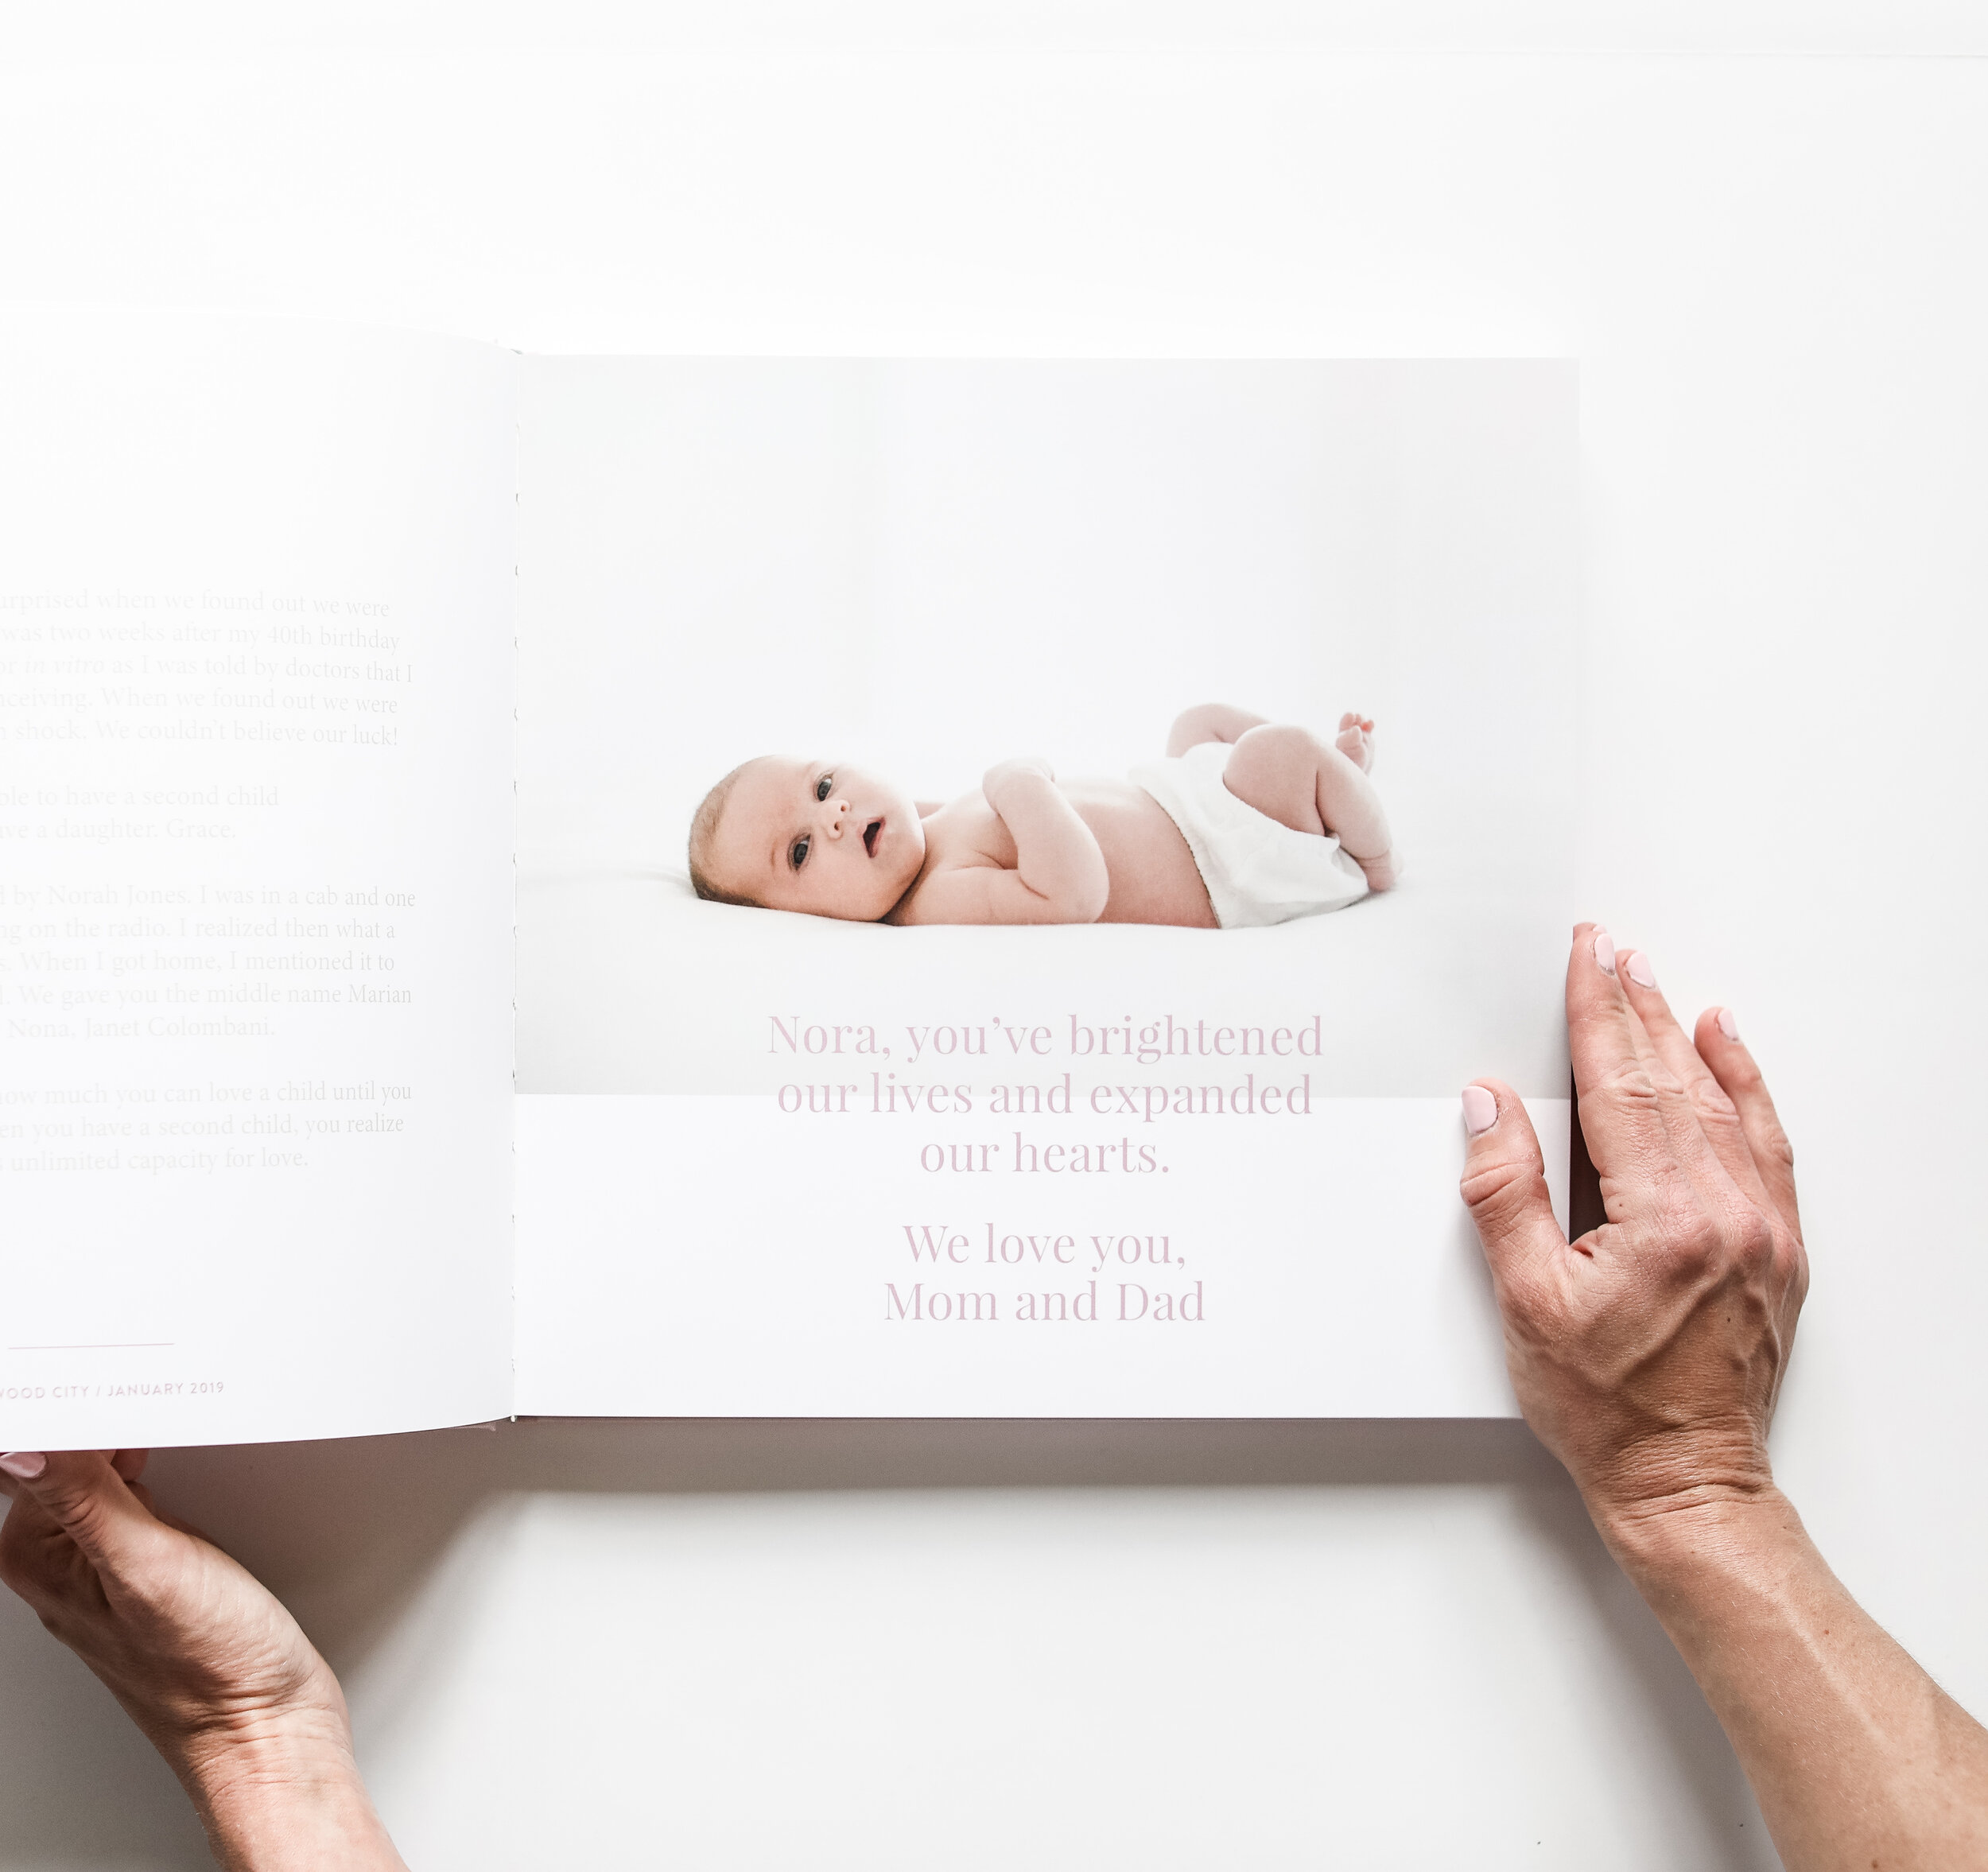
In a baby book, I like to include the birth story right up front and then add milestones and section titles throughout to break up the photos - but the bulk of the “story” comes early in the book.
Think about the scope of your project: is it a family yearbook? A photo book documenting a vacation or trip? A baby book covering the first two years?
Add a text box on one of the early pages in the book and type up the story that book will tell. What’s most important? What do you want to remember?
If it’s a vacation book, what’s special about this trip?
For a baby book, type up the birth story.
Family yearbook? Write about your general impressions of the year.
A little text goes a long way, but I prefer a larger section of text in one place over lots of little captions scattered throughout a book.
Further reading: A modern baby book covering baby’s first two years

4 | Use timeless design elements
If you’re going to incorporate design elements apart from the photos and words, use elements that have a timeless quality.
Simple fonts, colors that compliment the photos, and minimal design details can all elevate a photo book.
They can also enhance the design without making it feel too dated too early.
Another design element might be your layouts.
I like to keep the layouts really simple:
Large photos alongside simple grids of two or four photos.
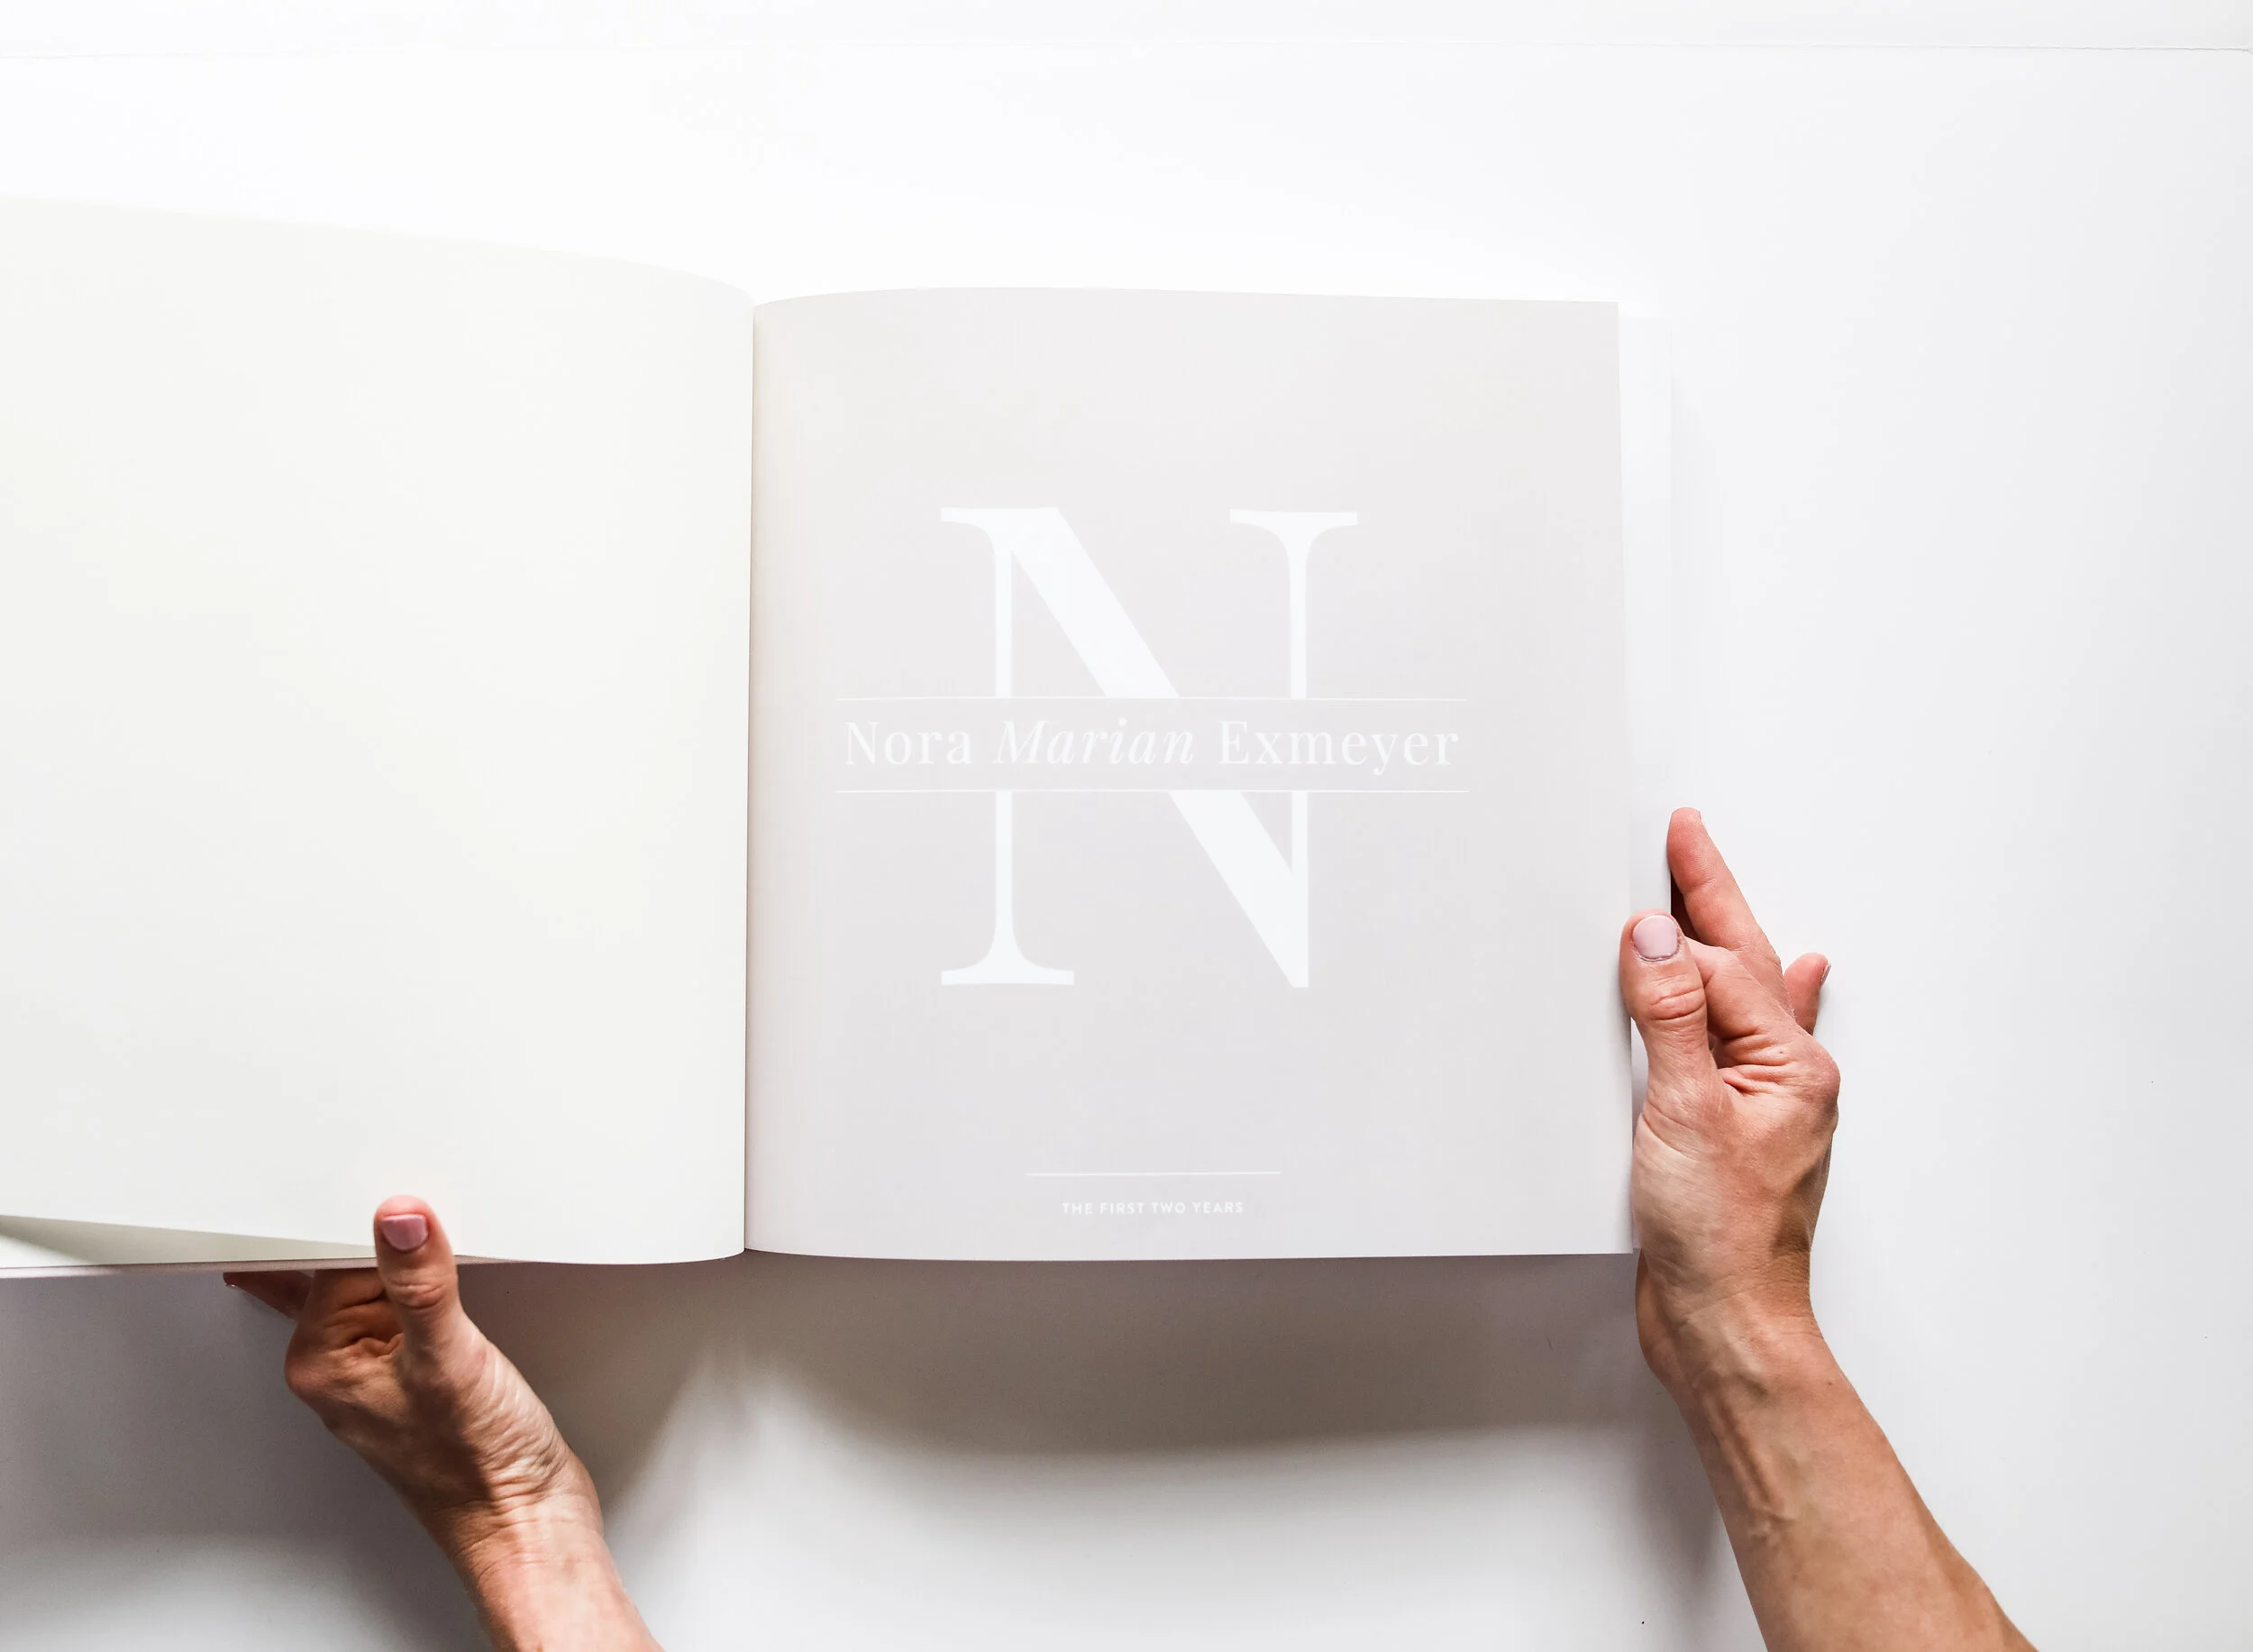
Title pages that fill a page rather than little captions that disappear.
A few layouts that contain just one photo spread across a page.
Lots of white space (see tip number two!)
Simplicity rules the day when it comes to designing projects that will withstand the test of time.
Further reading:

Here’s my approach, in a nutshell:
Include fewer photos. Let the ones you choose really shine!
Incorporate white space. Let those very special photos breathe on the pages.
Include text sparingly - but be sure to include it! Fill in the gaps with story and break up the story with “chapter” breaks throughout the book that help give structure to the story you’re telling.
Use timeless design elements. Simple fonts, colors, and layouts will give your project a timeless quality.
If you’re ready to tackle your most pressing memory keeping projects, start by downloading my free project plan.
It includes a checklist and the details behind the step-by-step process I use for my clients and myself.

