How to Document a Milestone
Milestone events like birthdays, anniversaries, retirements, graduations, and the like call for celebration.
On these occasions, I love putting together a project that showers some love on the person (or people) you’re celebrating.
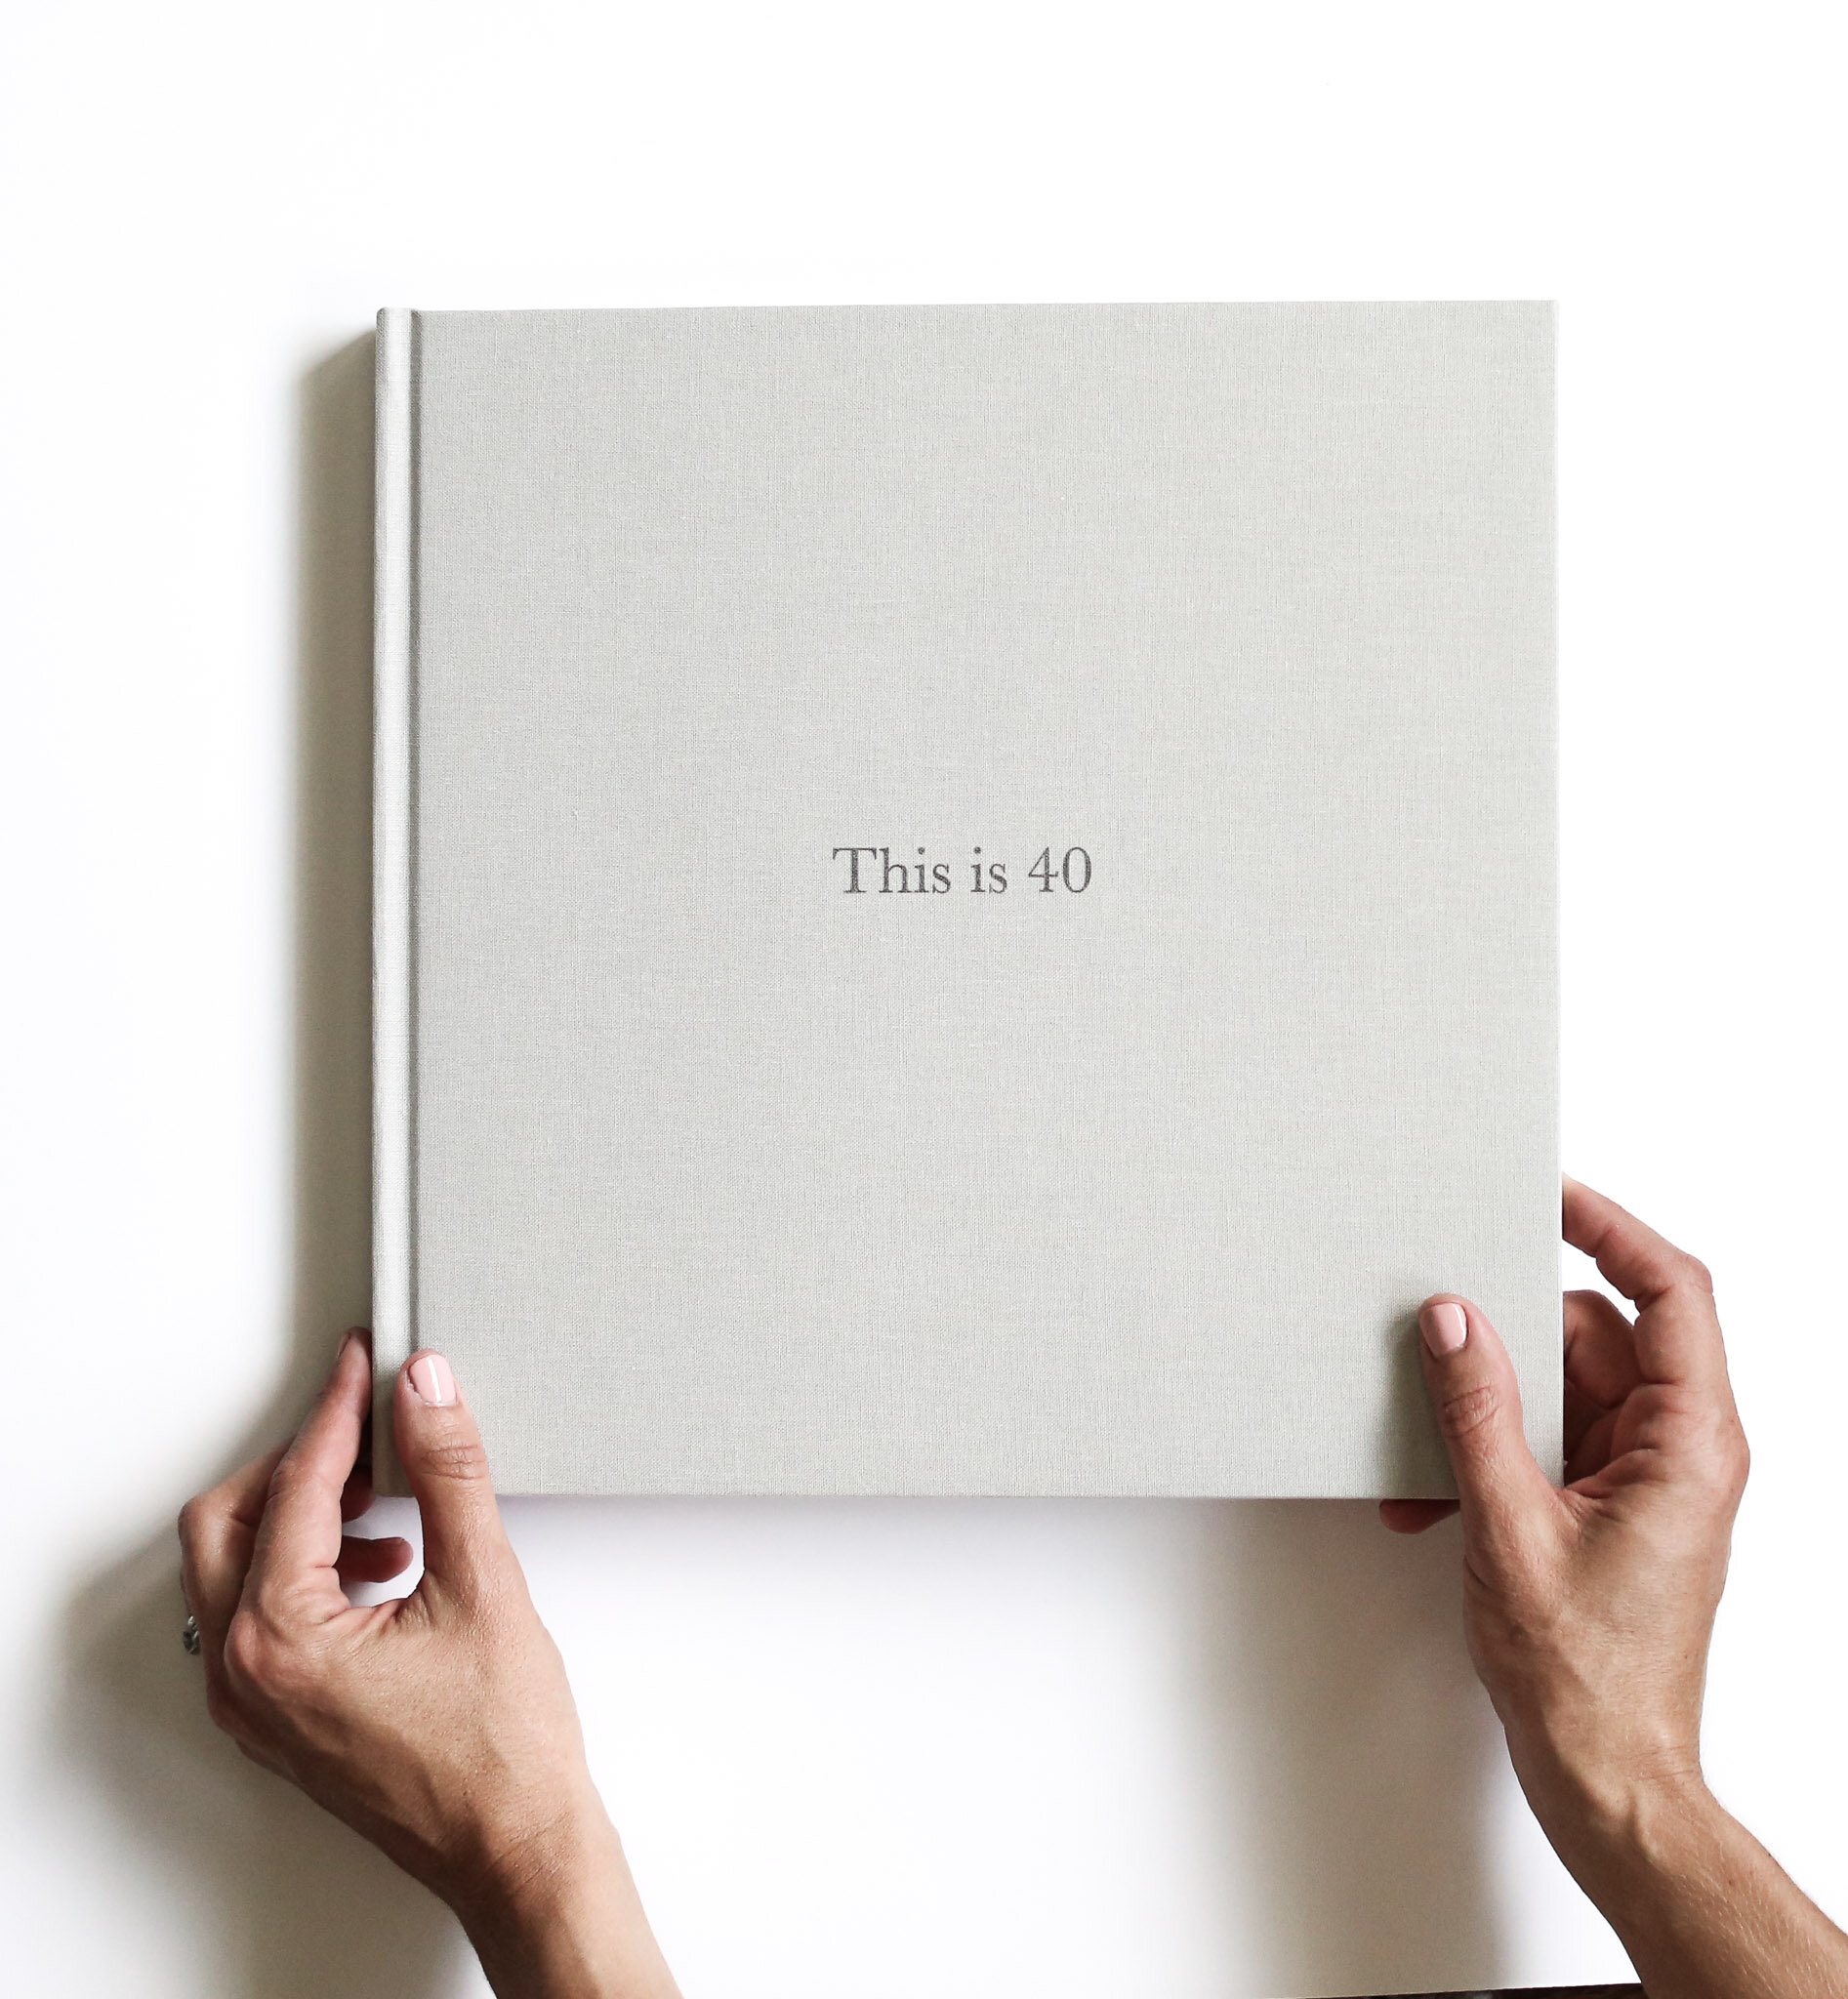
Last year a client asked me about putting a project together for her husband’s 40th birthday. She wasn’t sure what, exactly, but she wanted it to be personal and unique to him.
We spent a few weeks reaching out to friends and family, gathering old photos and written memories, and then I got to work.
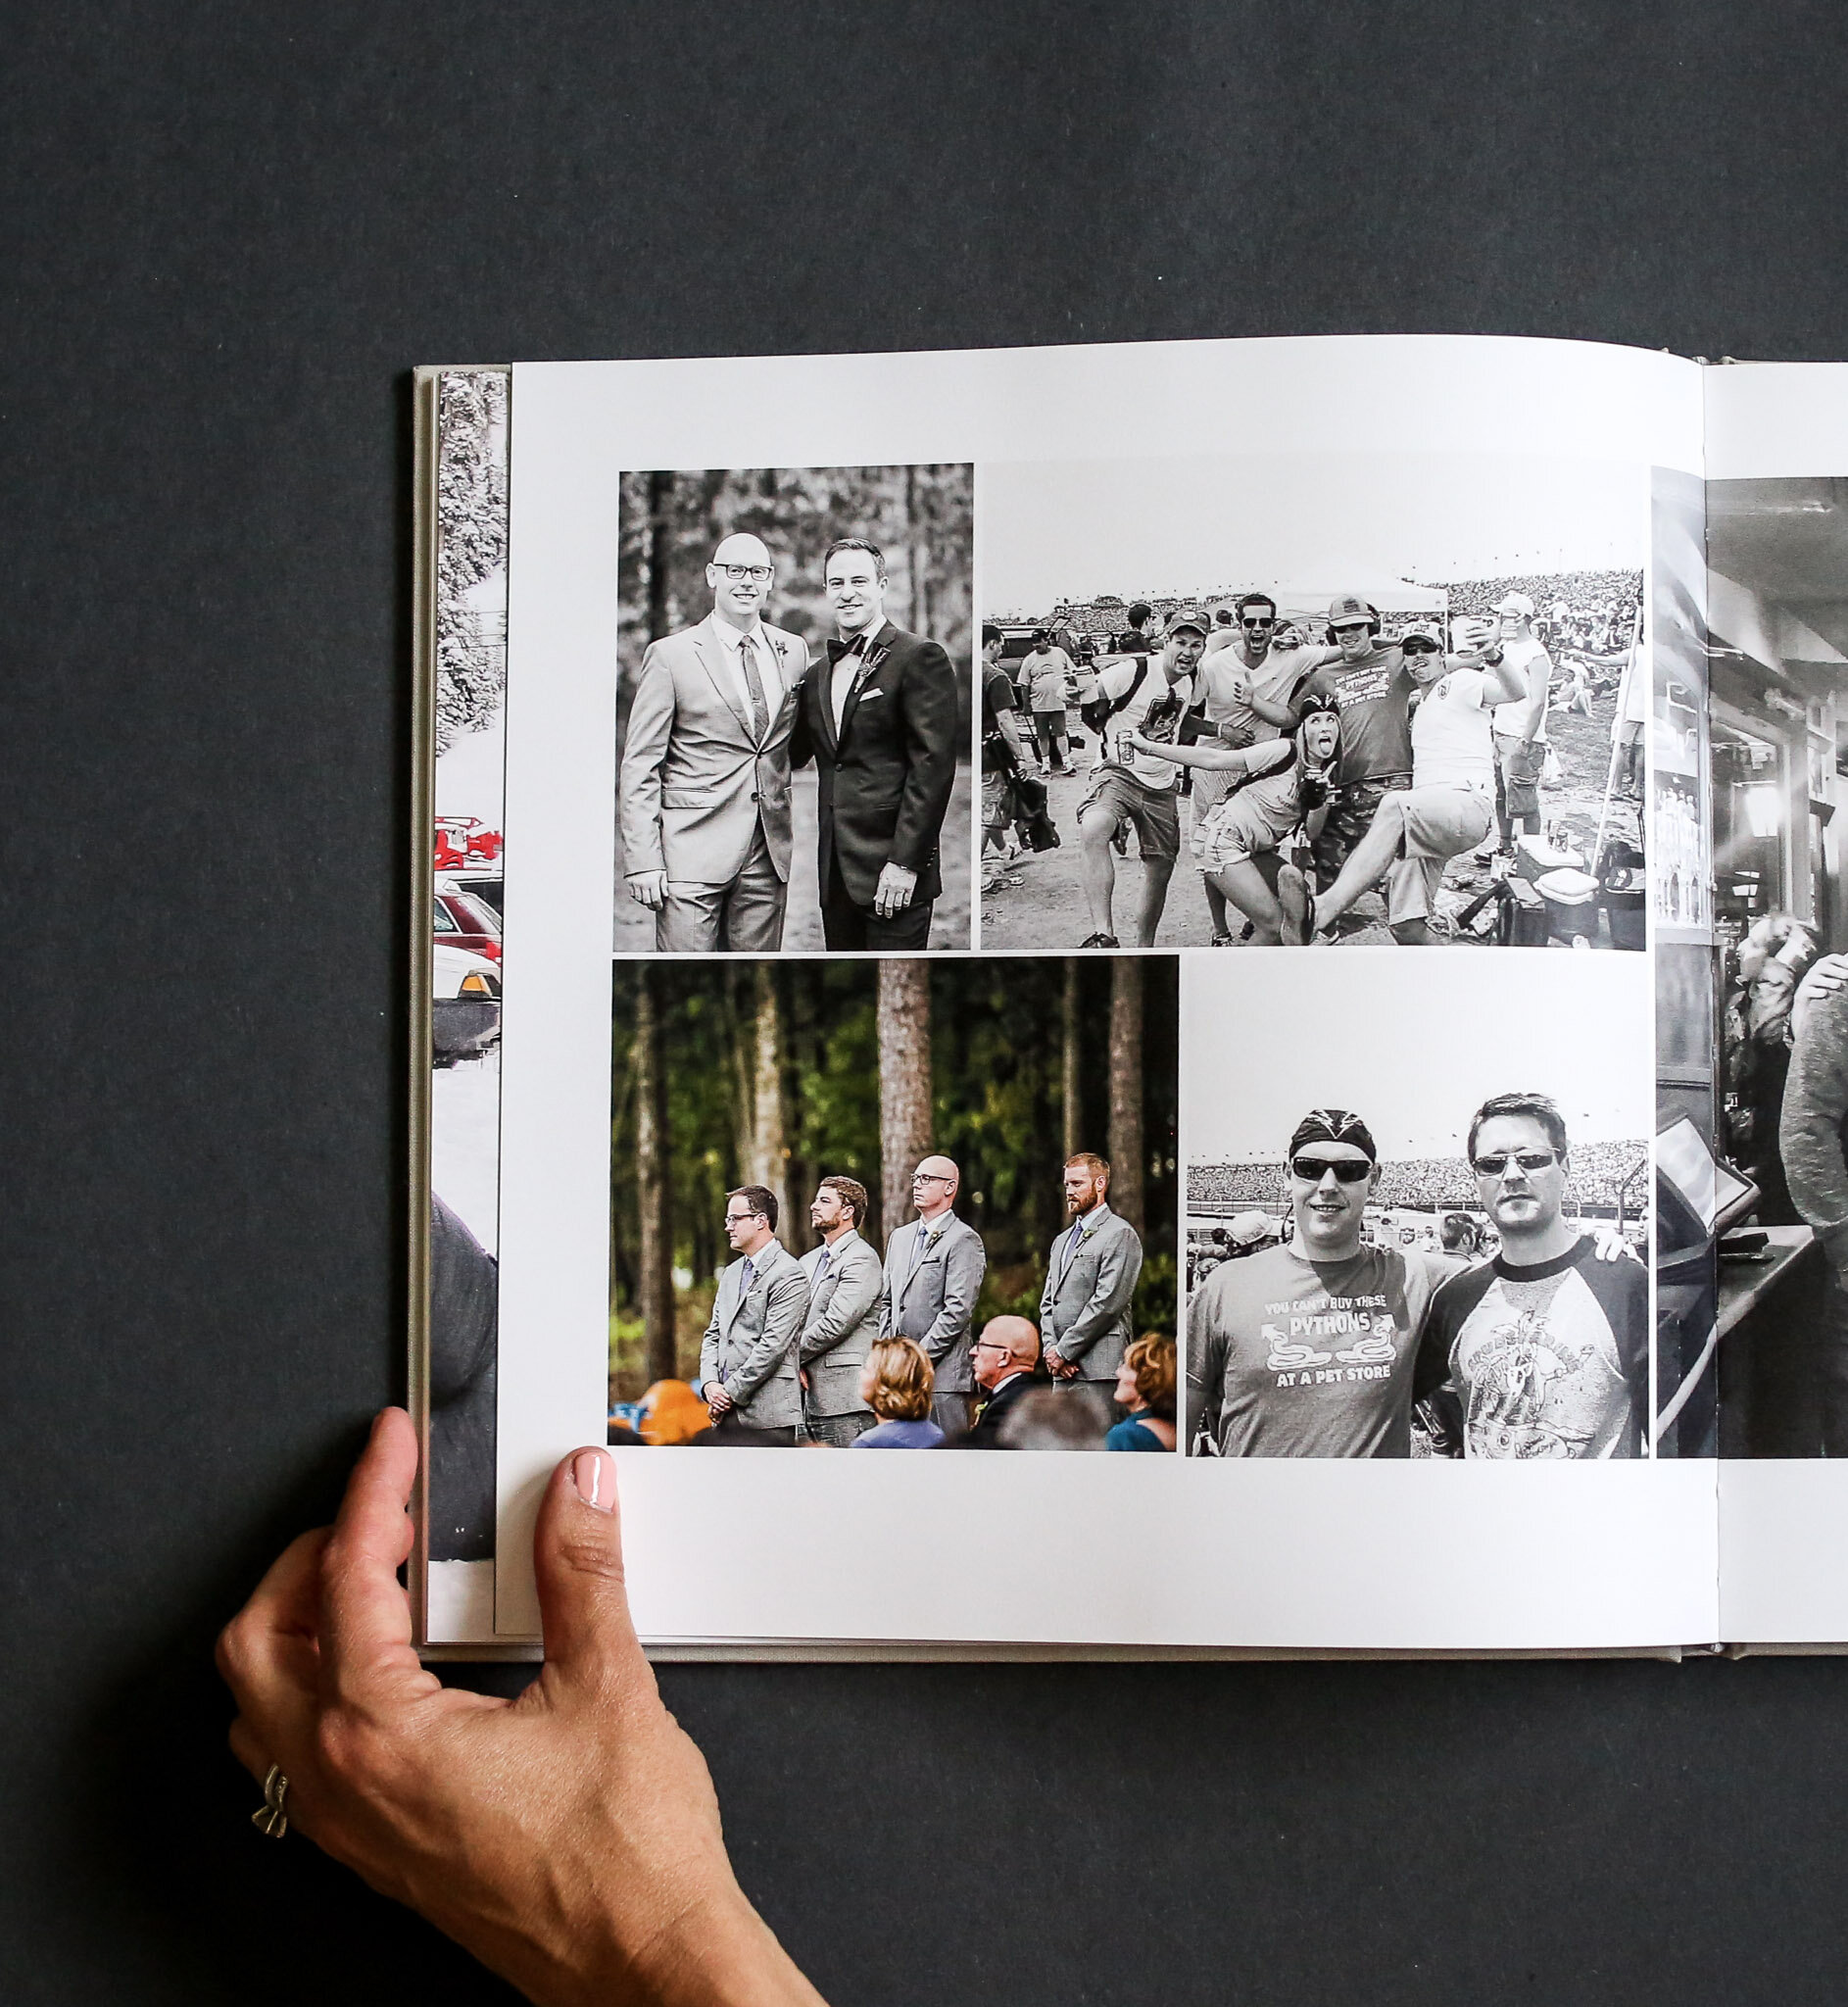
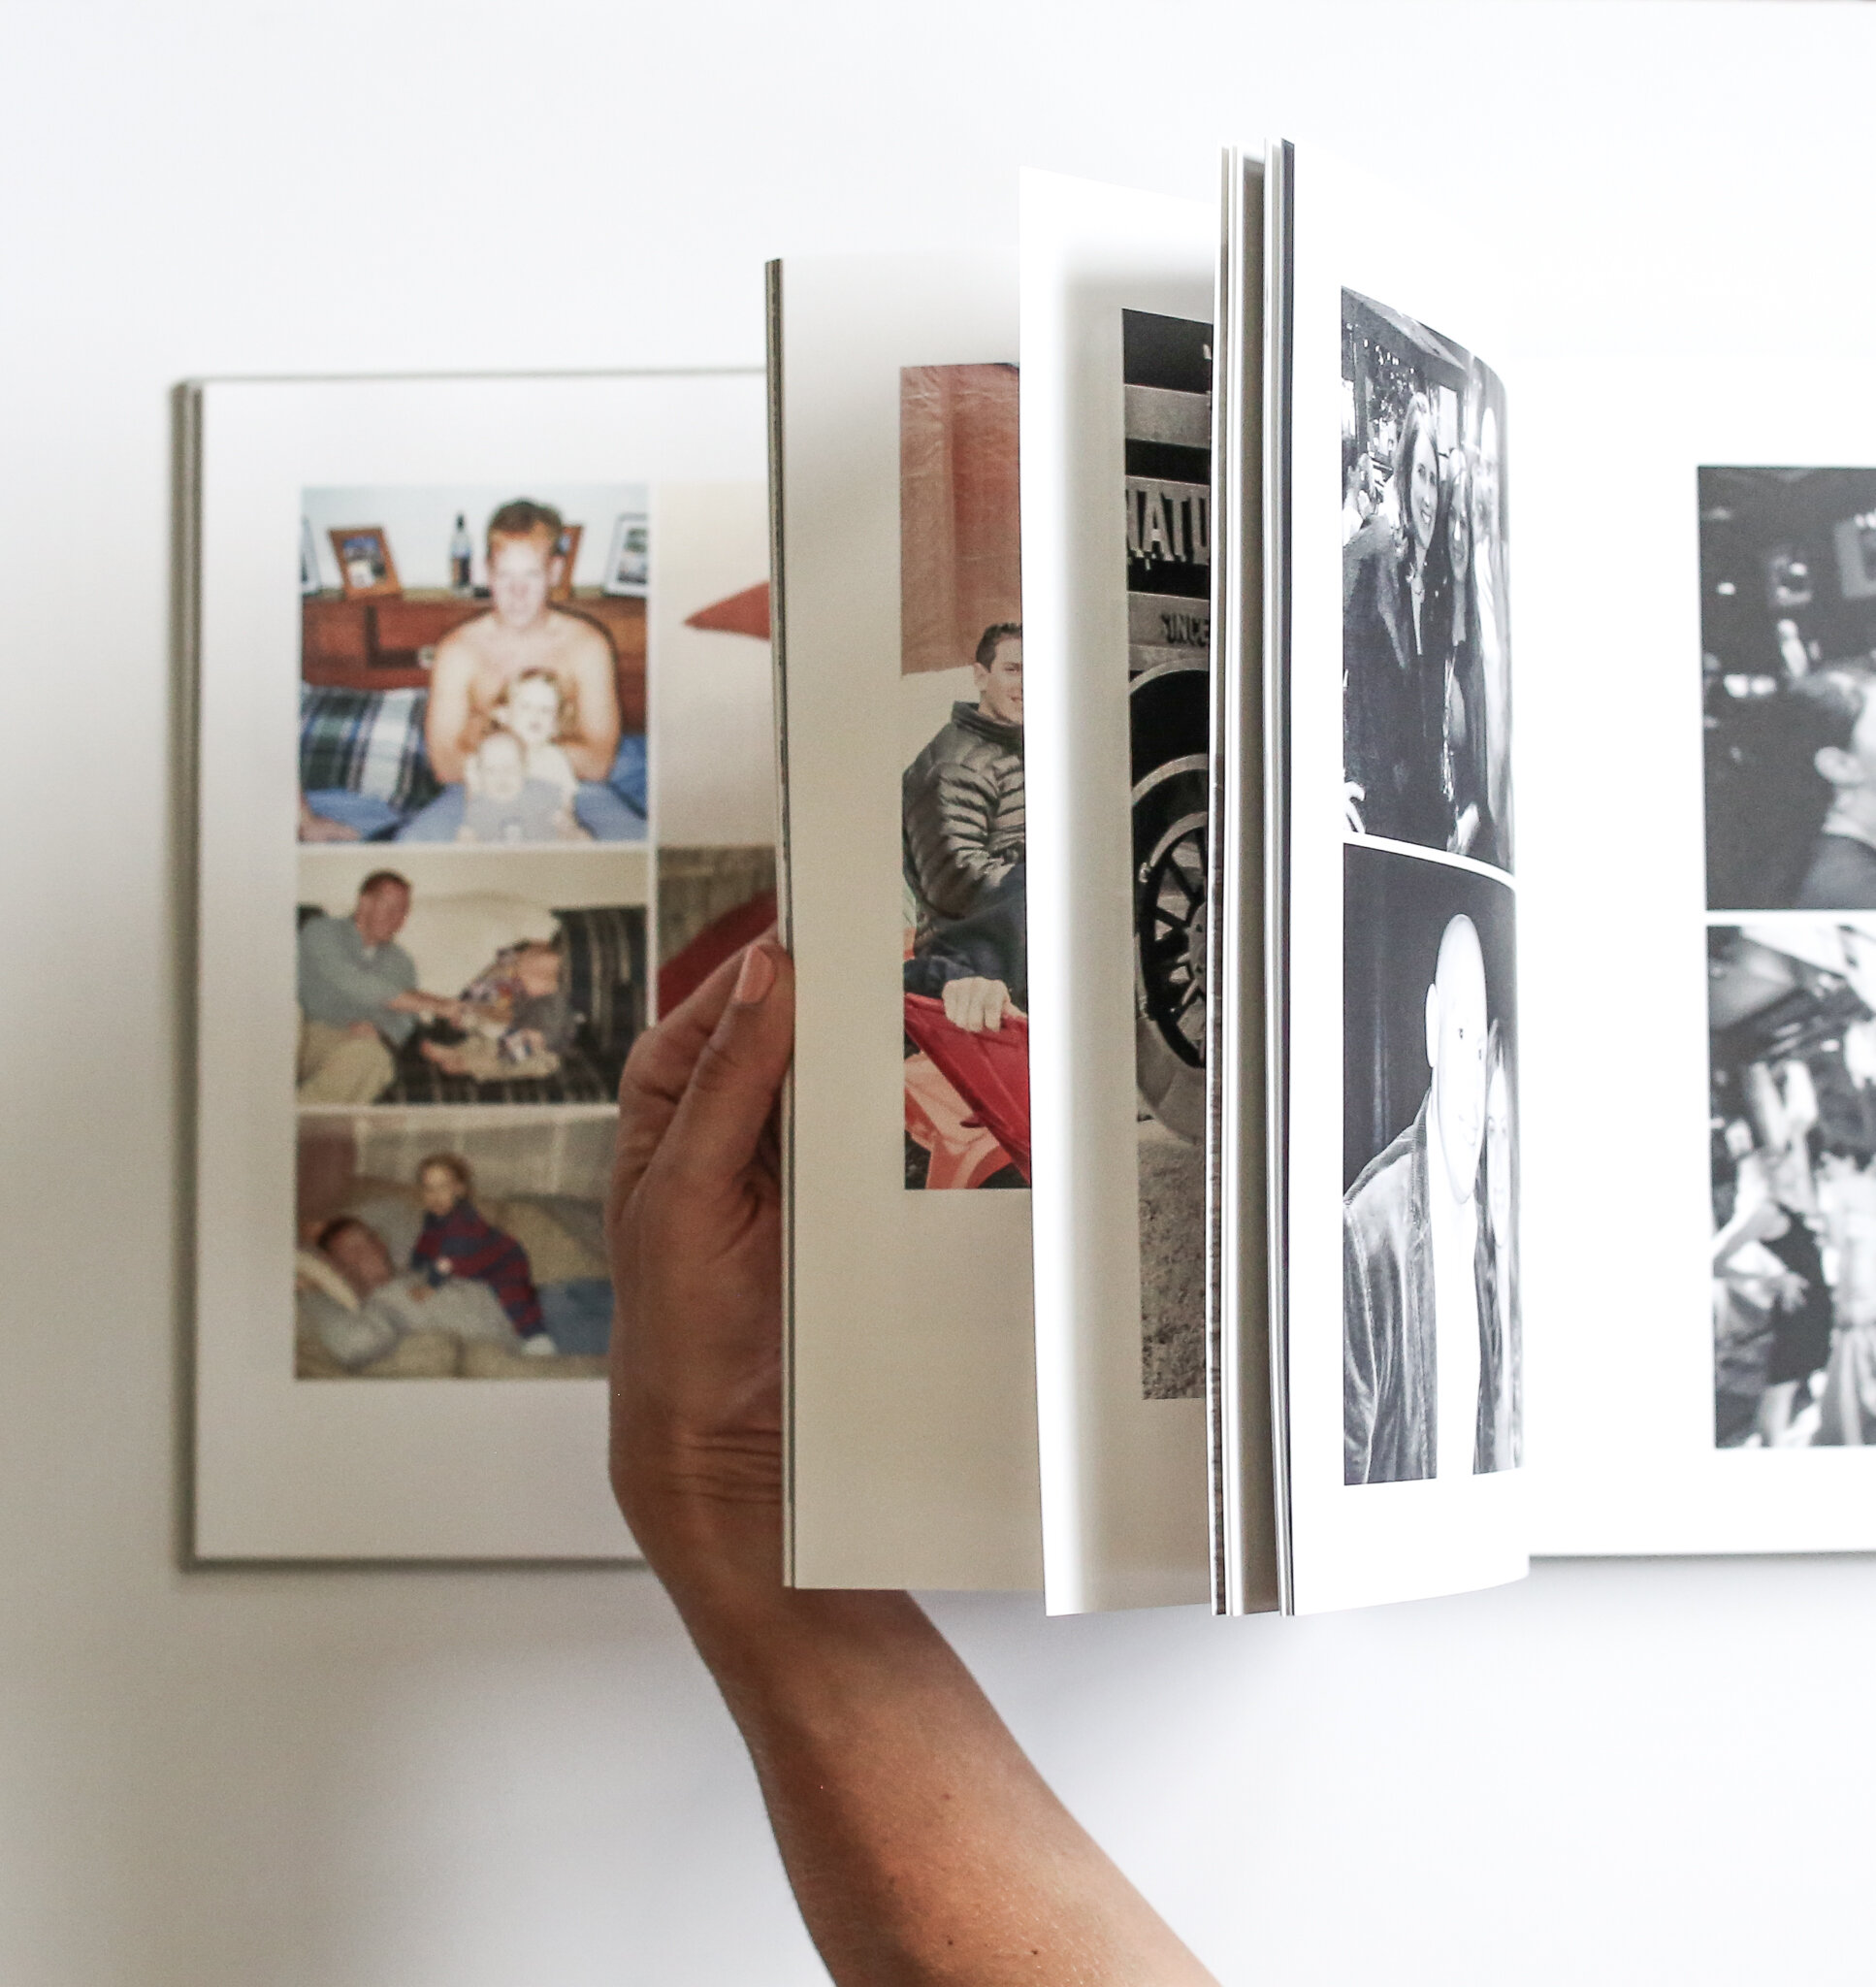
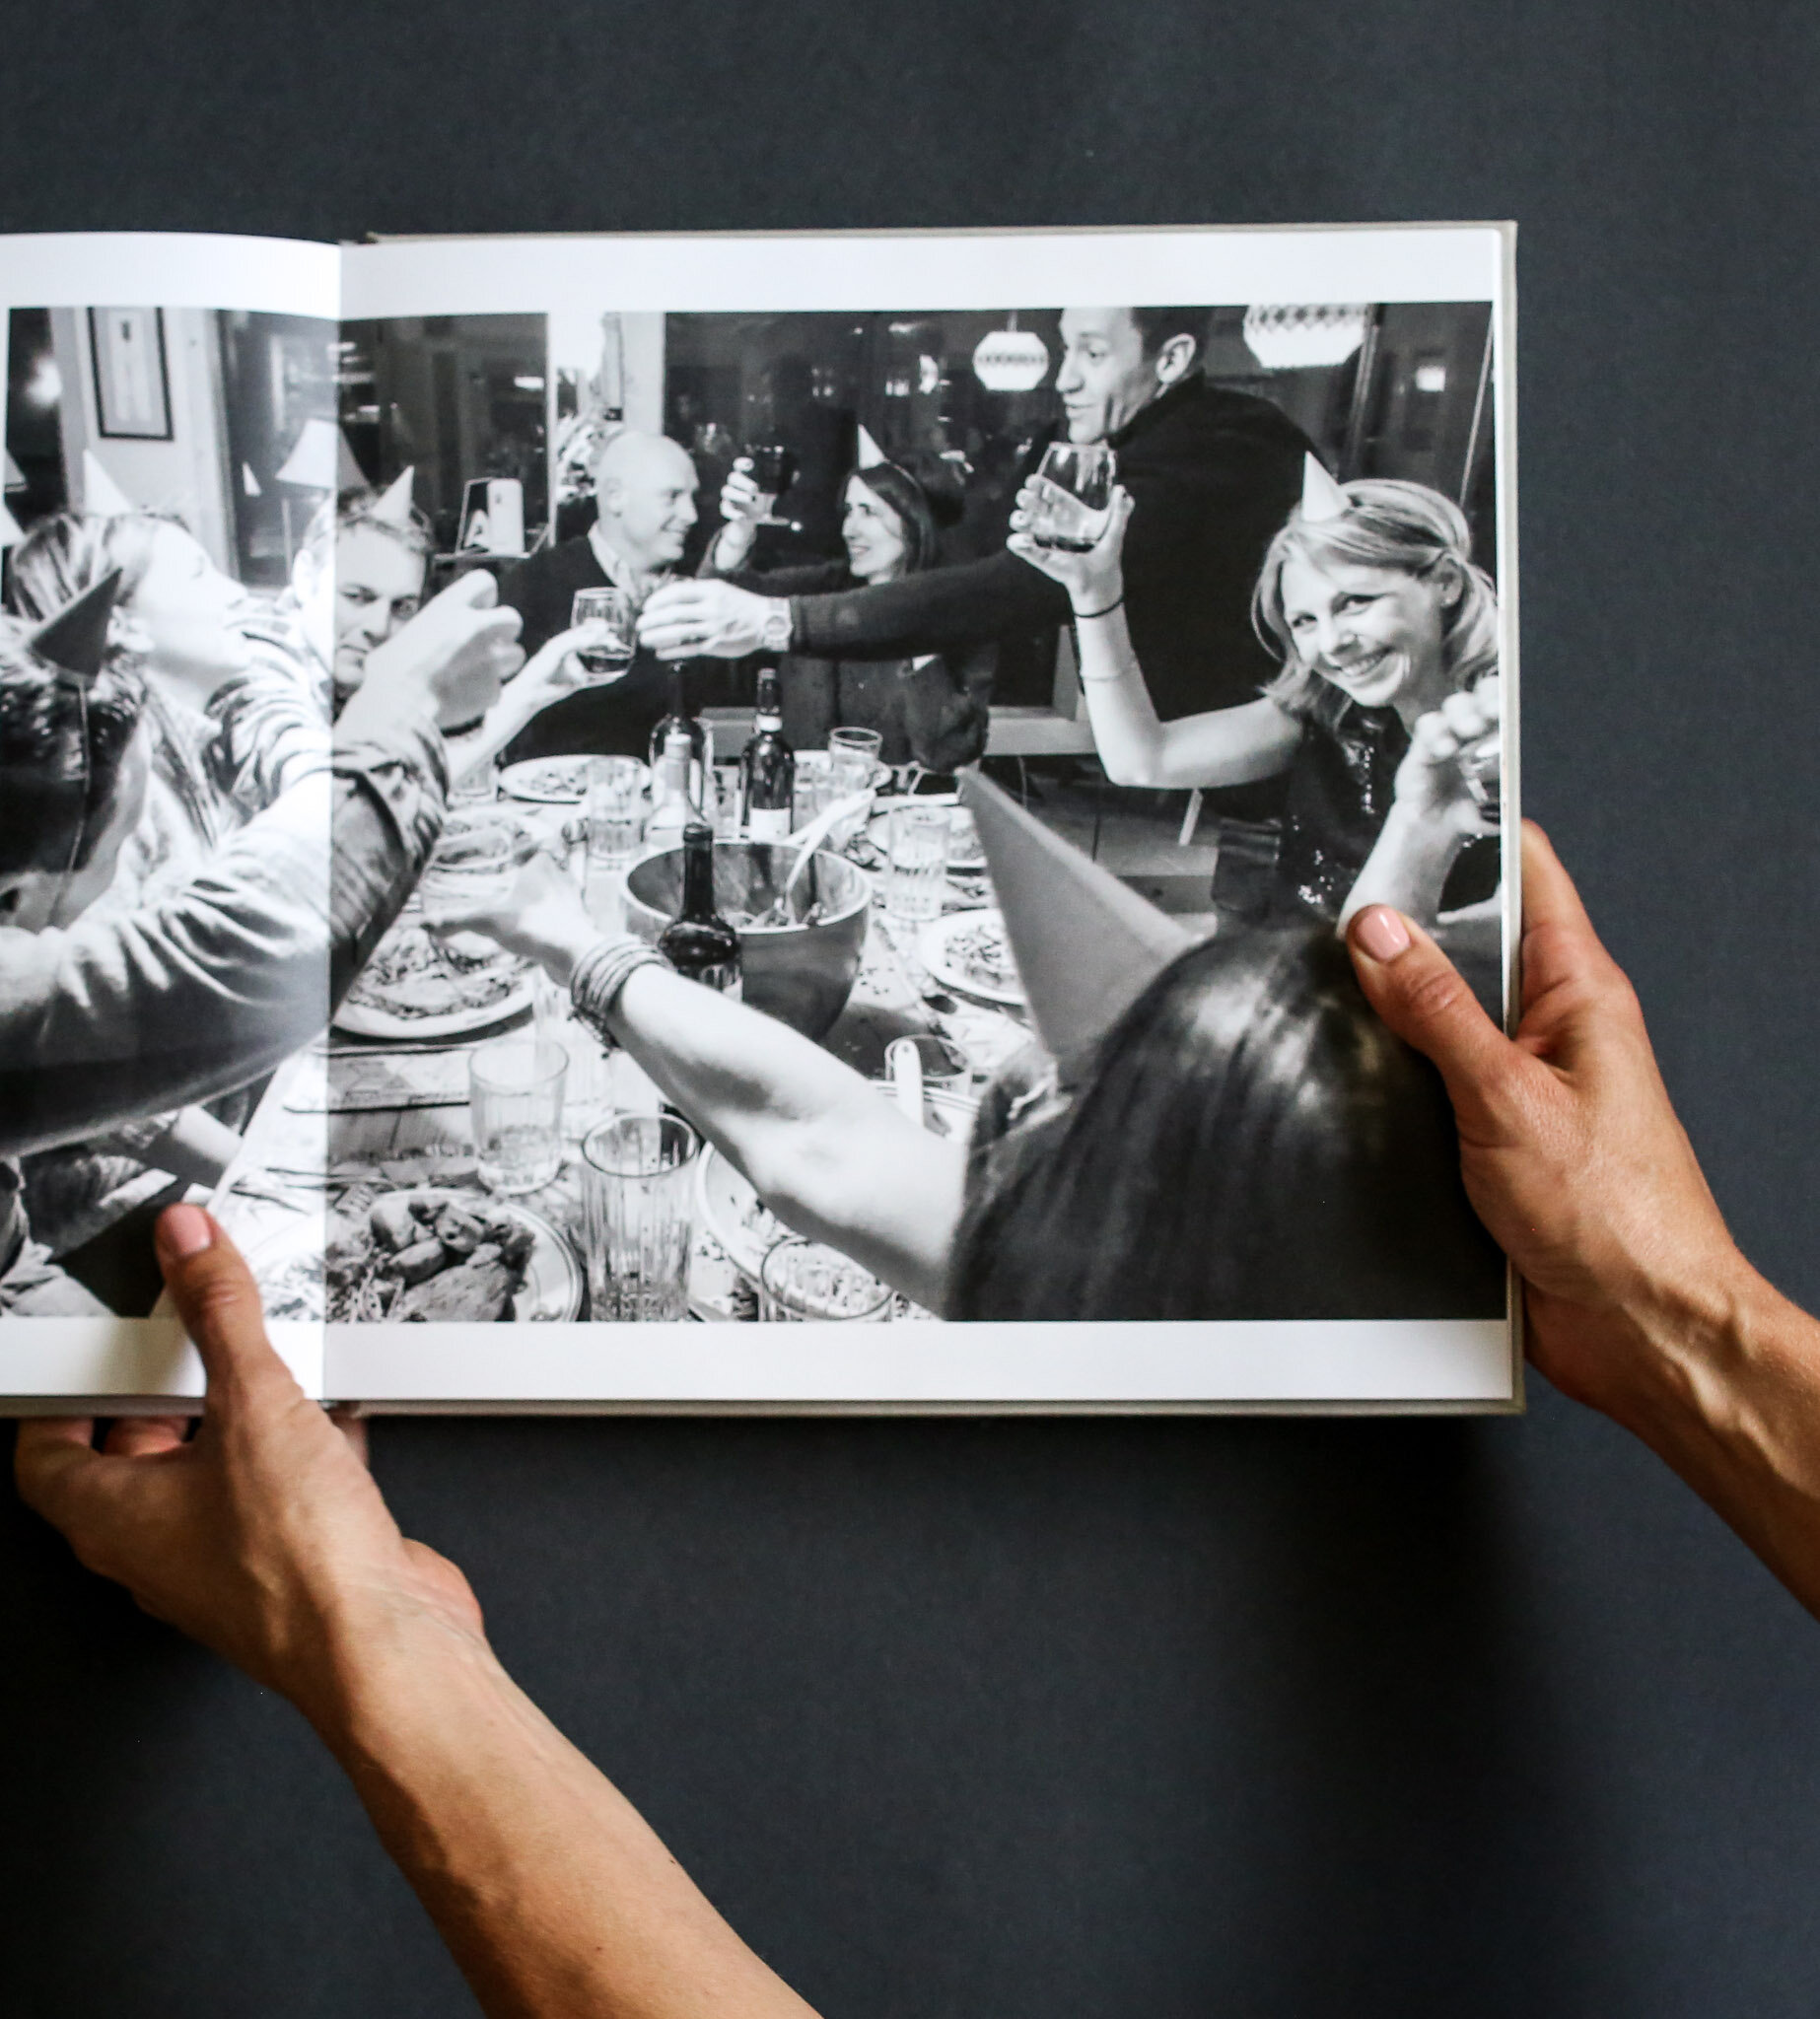
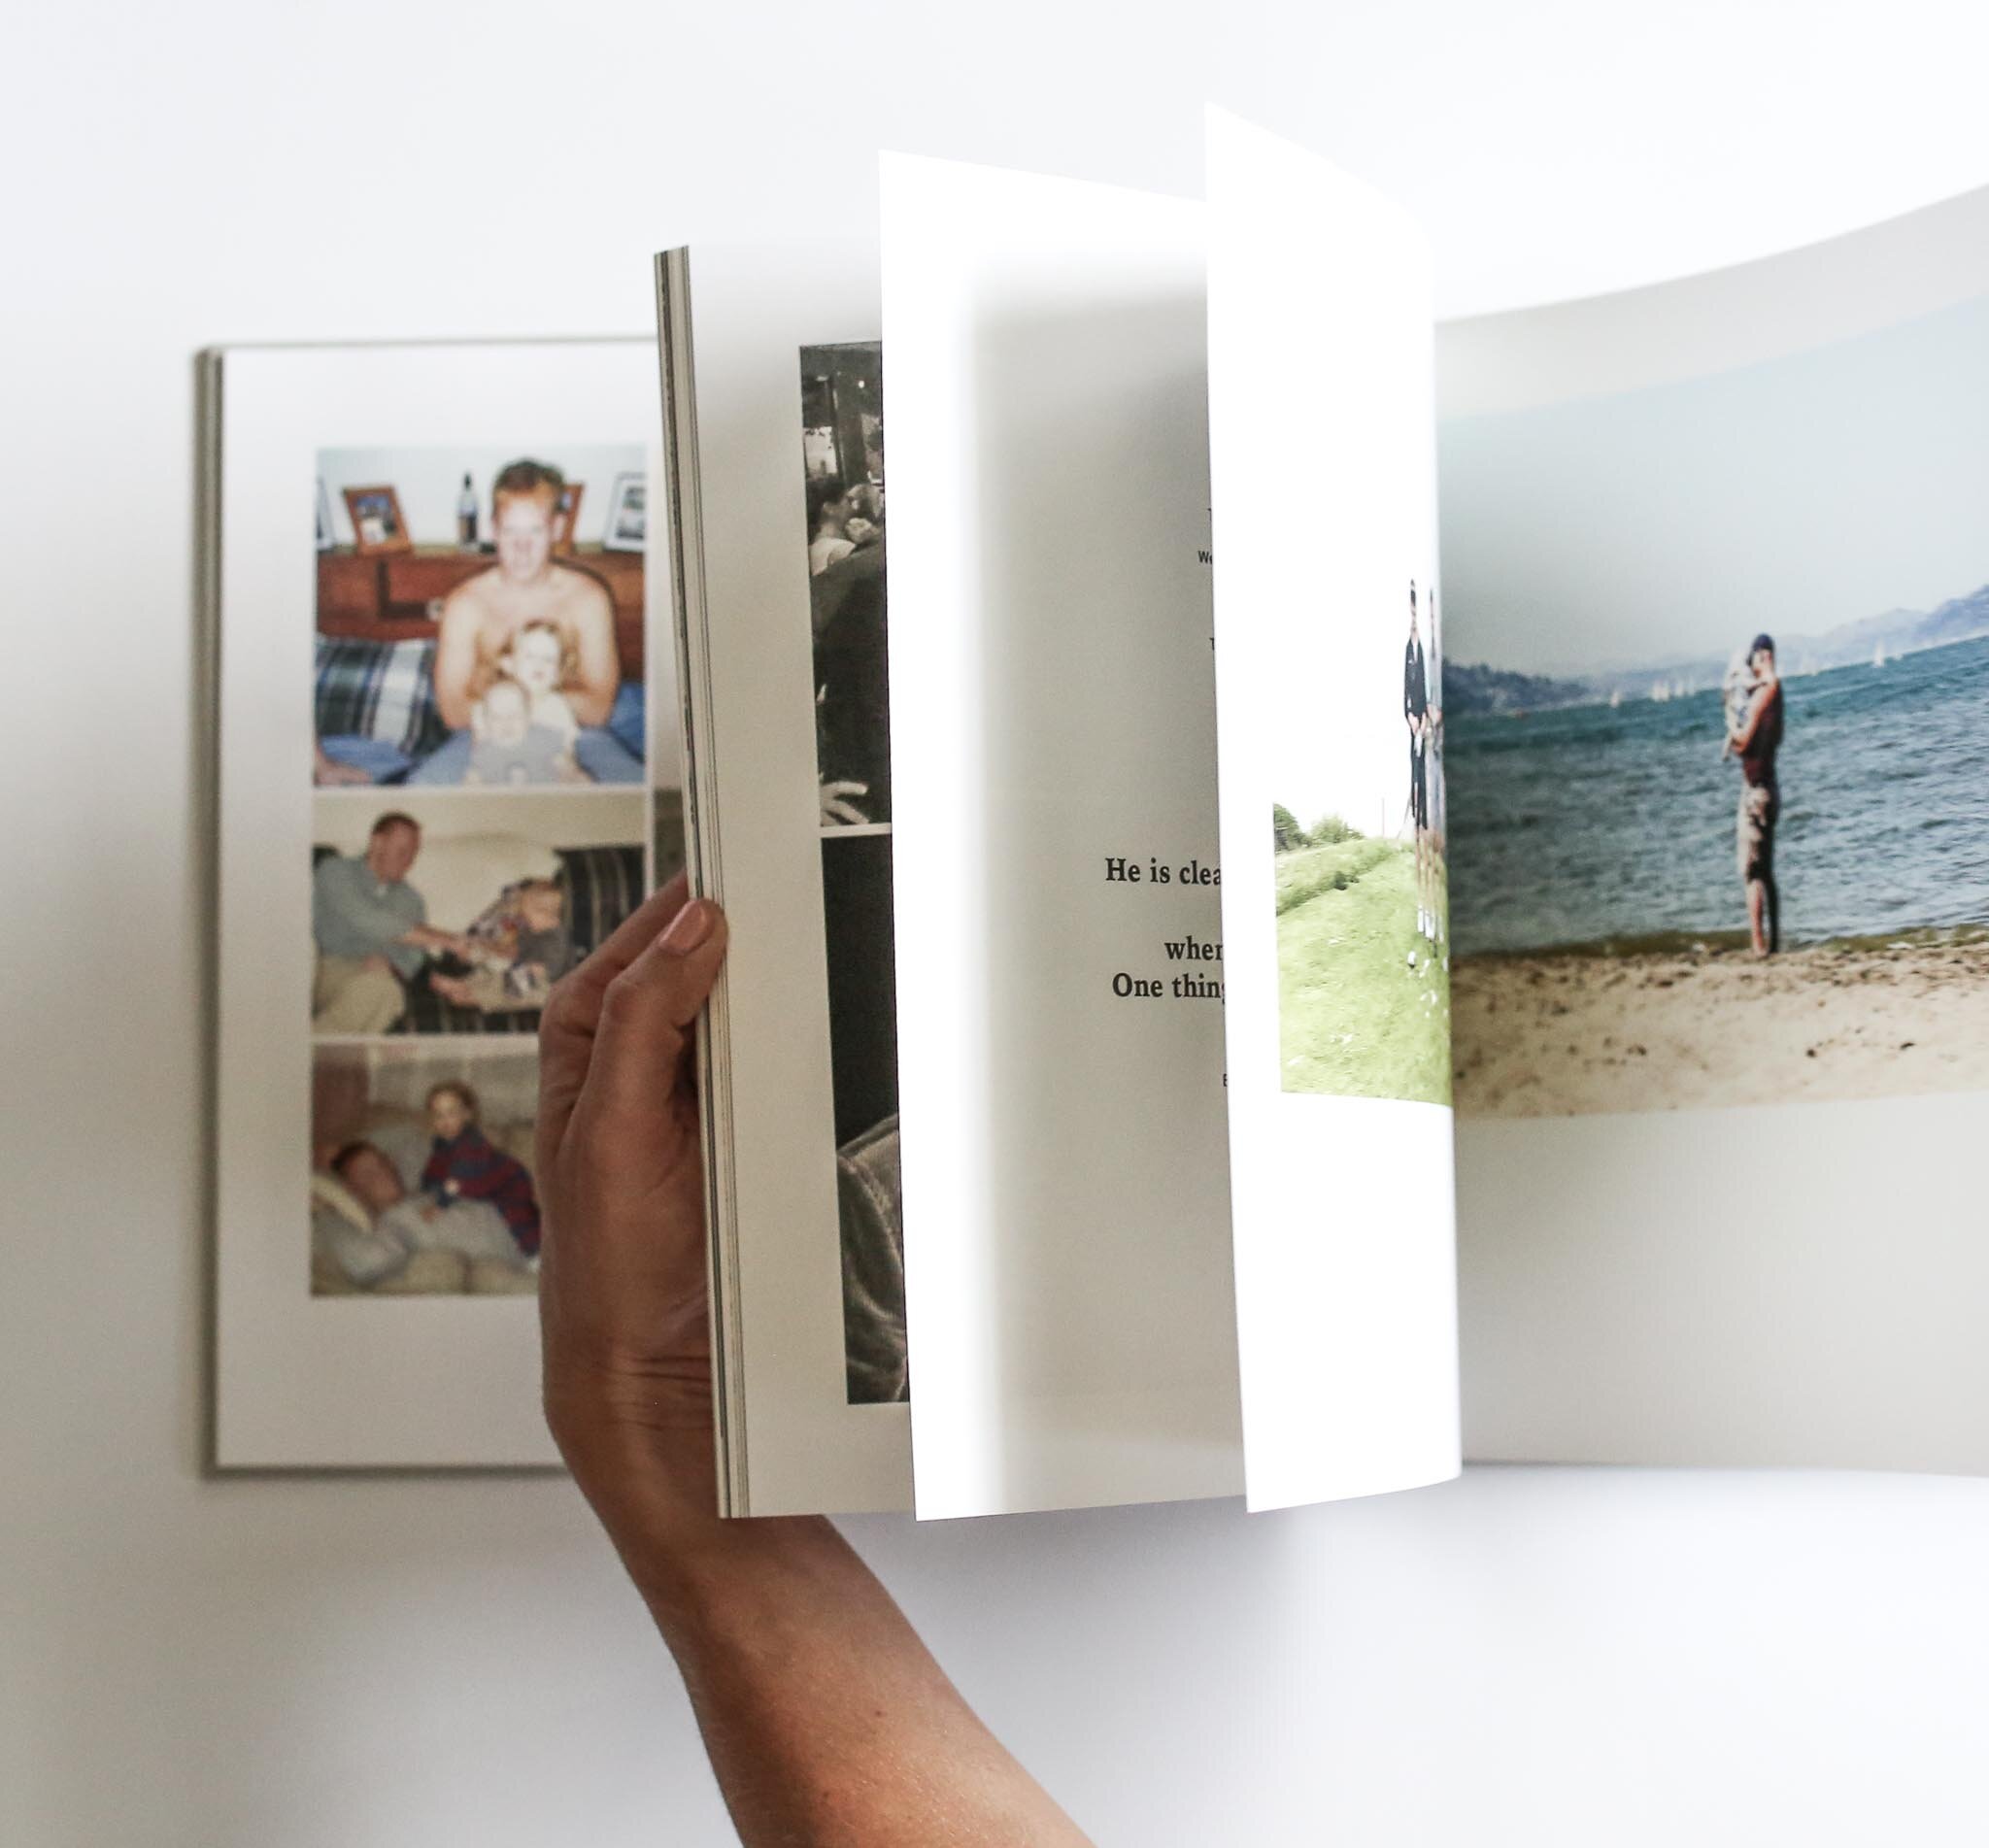
The photos you see in this post are from that project, which ended up being a treasured favorite for all of us involved.
Read on for my approach to this project and any milestone project, no matter what the occasion.

Step 1 | Collaborate
In the case of a milestone project, you might want to include lots of people. The more the merrier! But coordinating lots of opinions and input can be tricky.
Before you reach out to people for their contributions, ask yourself:
What do I want the final project or gift to be? Photobook, video, framed photos, a stack of cards - think through what you want the final project to look like.
What do I need from each person? Be as specific as possible (i.e. 3 photos, one note, a favorite quote or song lyric, 3 words to describe the person you’re celebrating)
When do I want their materials? Set a deadline a few days ahead of your actual due date, and don’t give people too much time.
How do I want to collect materials? Make it easy! Set up a shared iCloud folder, or Google Drive file, or give them your email if that’s easiest for you.
What do they need to know to share? Any special instructions, directions, or tips for sharing will help ease the process for your contributors and make it more likely that they participate.
People can get creative while also meeting the needs of the project. Limits won’t stifle people. They’ll actually encourage more of them to participate.
Above all, be specific in your ask. Do you want photos to be horizontal or vertical? What about video? Do you want a quote? Or can people write a three page note?
If you want to give creative license, set parameters, like “Record a (max) 20 second video wishing Sally a happy 75th birthday.”
Don’t be vague or leave a lot of room for people to “do whatever they want.” They’ll either be confused or they’ll give you something you can’t use.
Be as specific as possible and you’ll get what you’re looking for.
Step 2 | Prepare
Here’s how I prepare the materials for the project.
Prep written materials
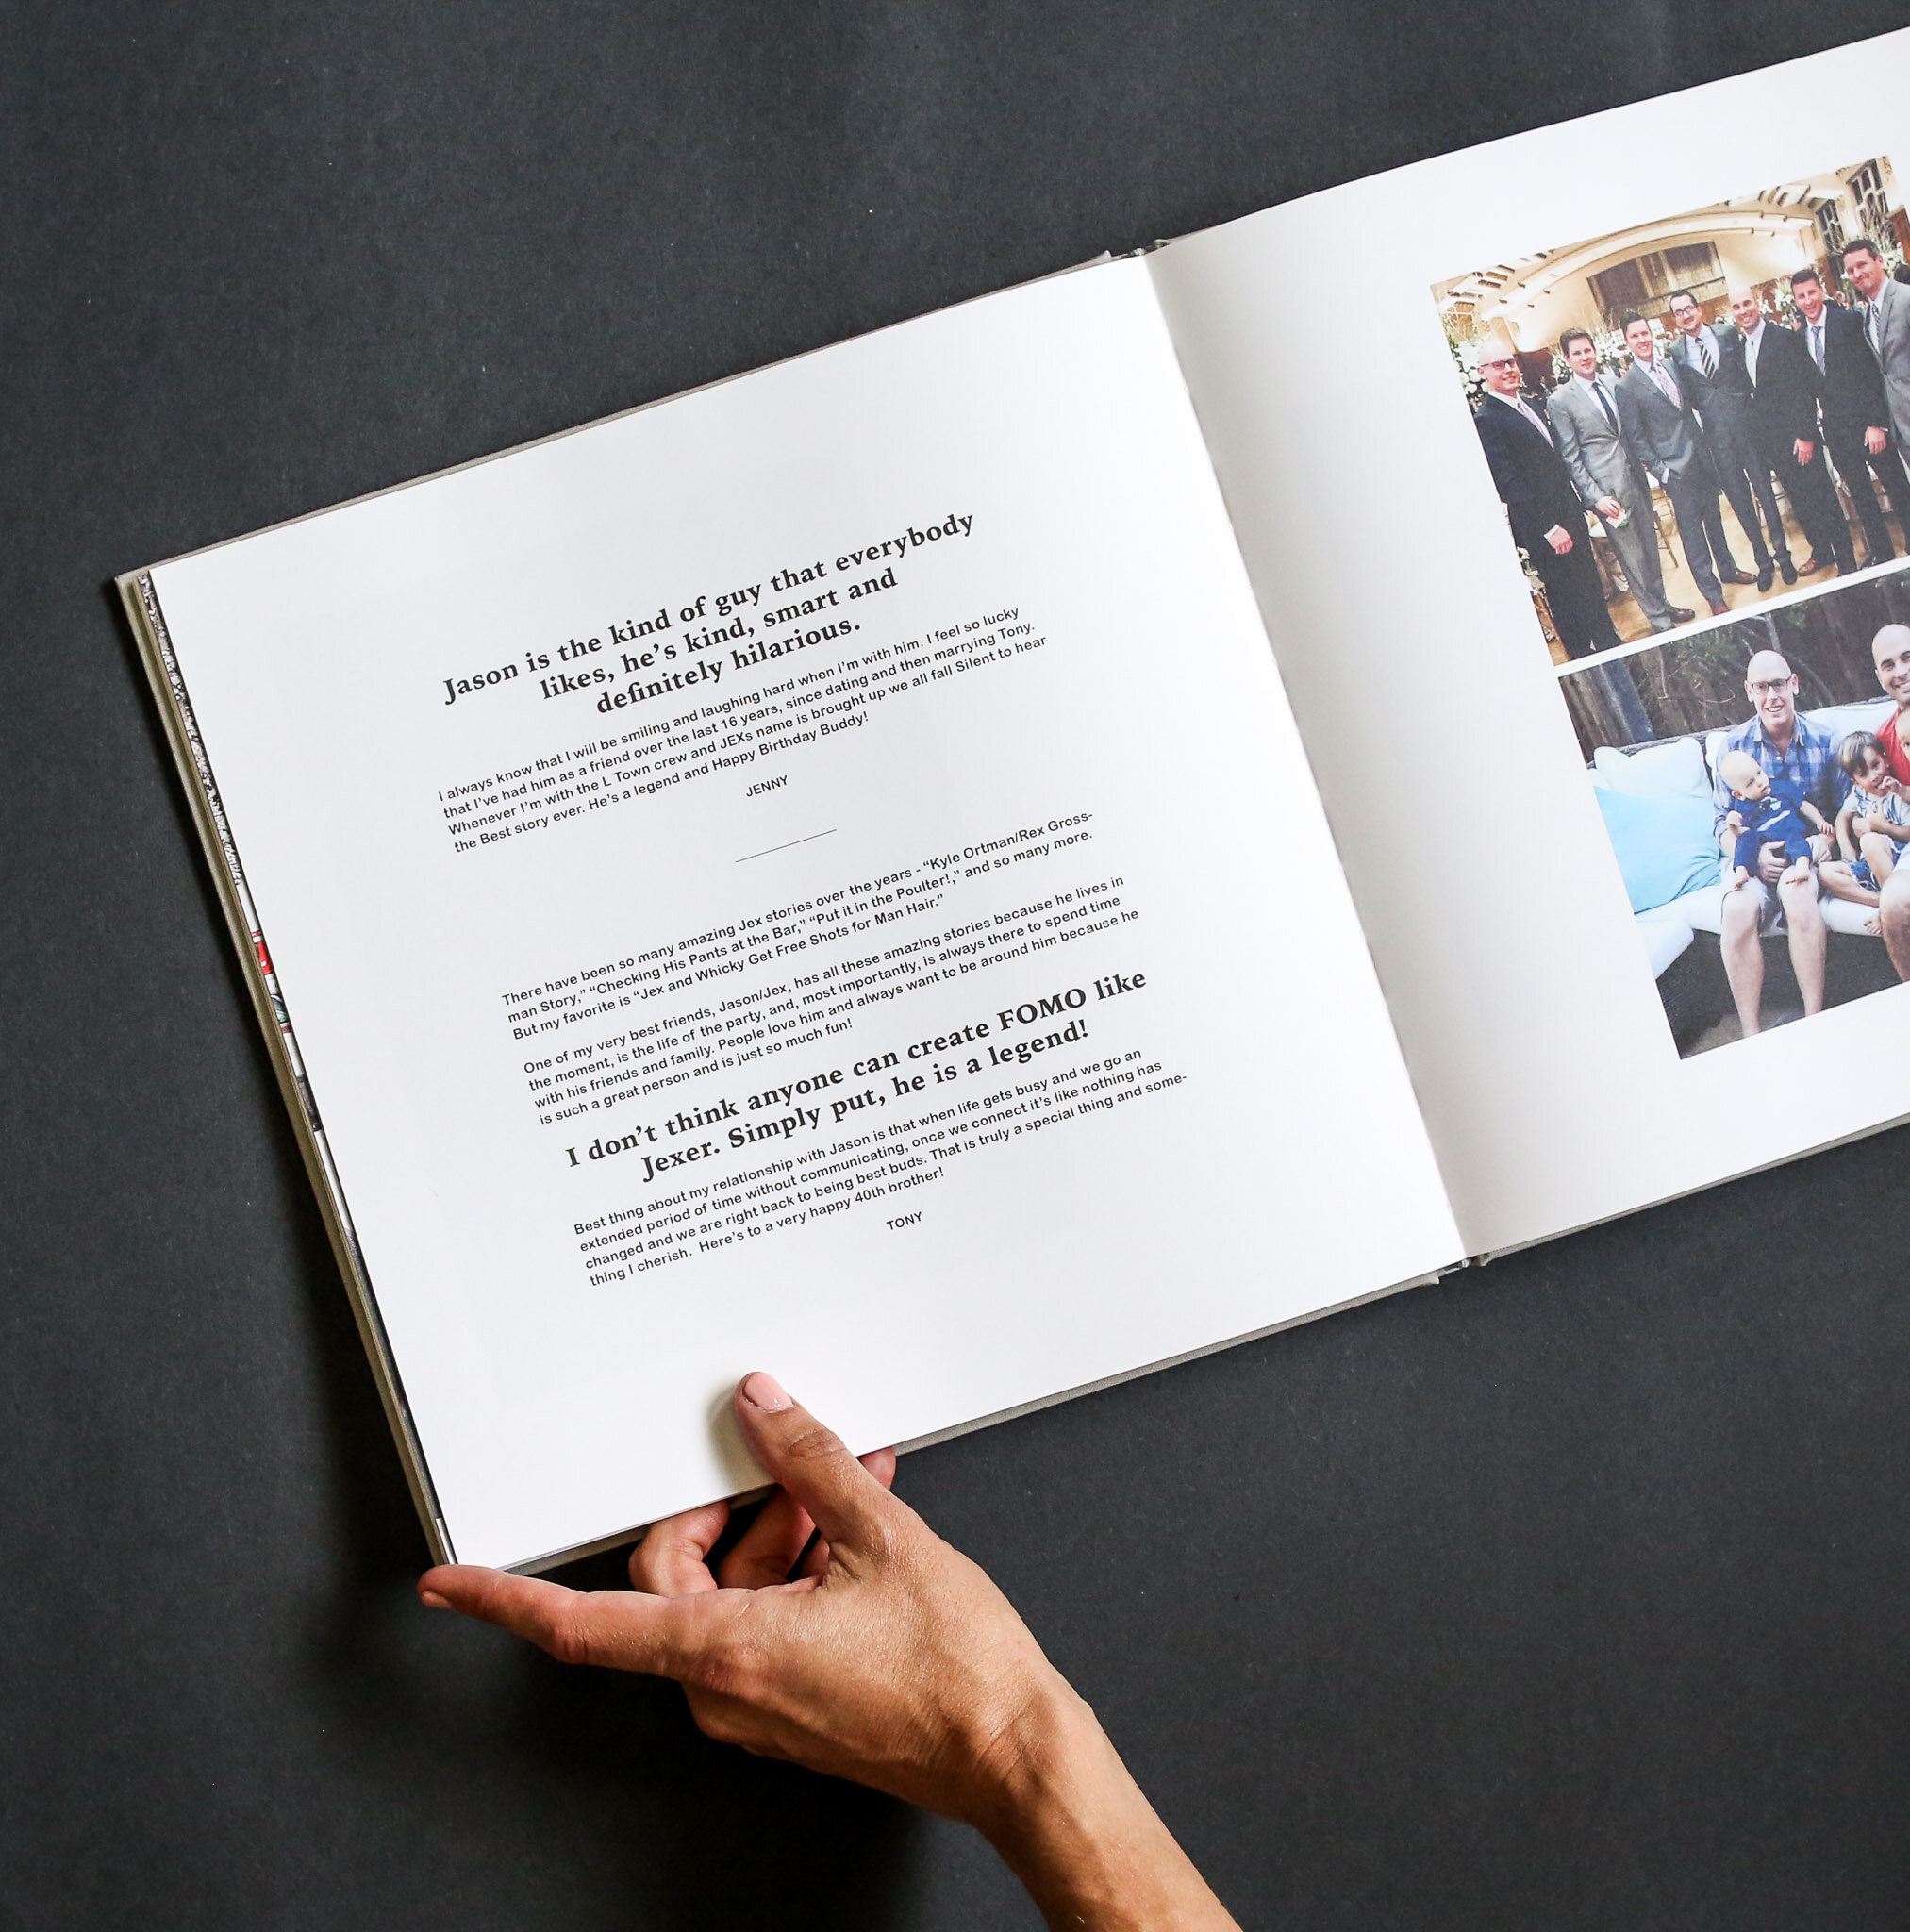
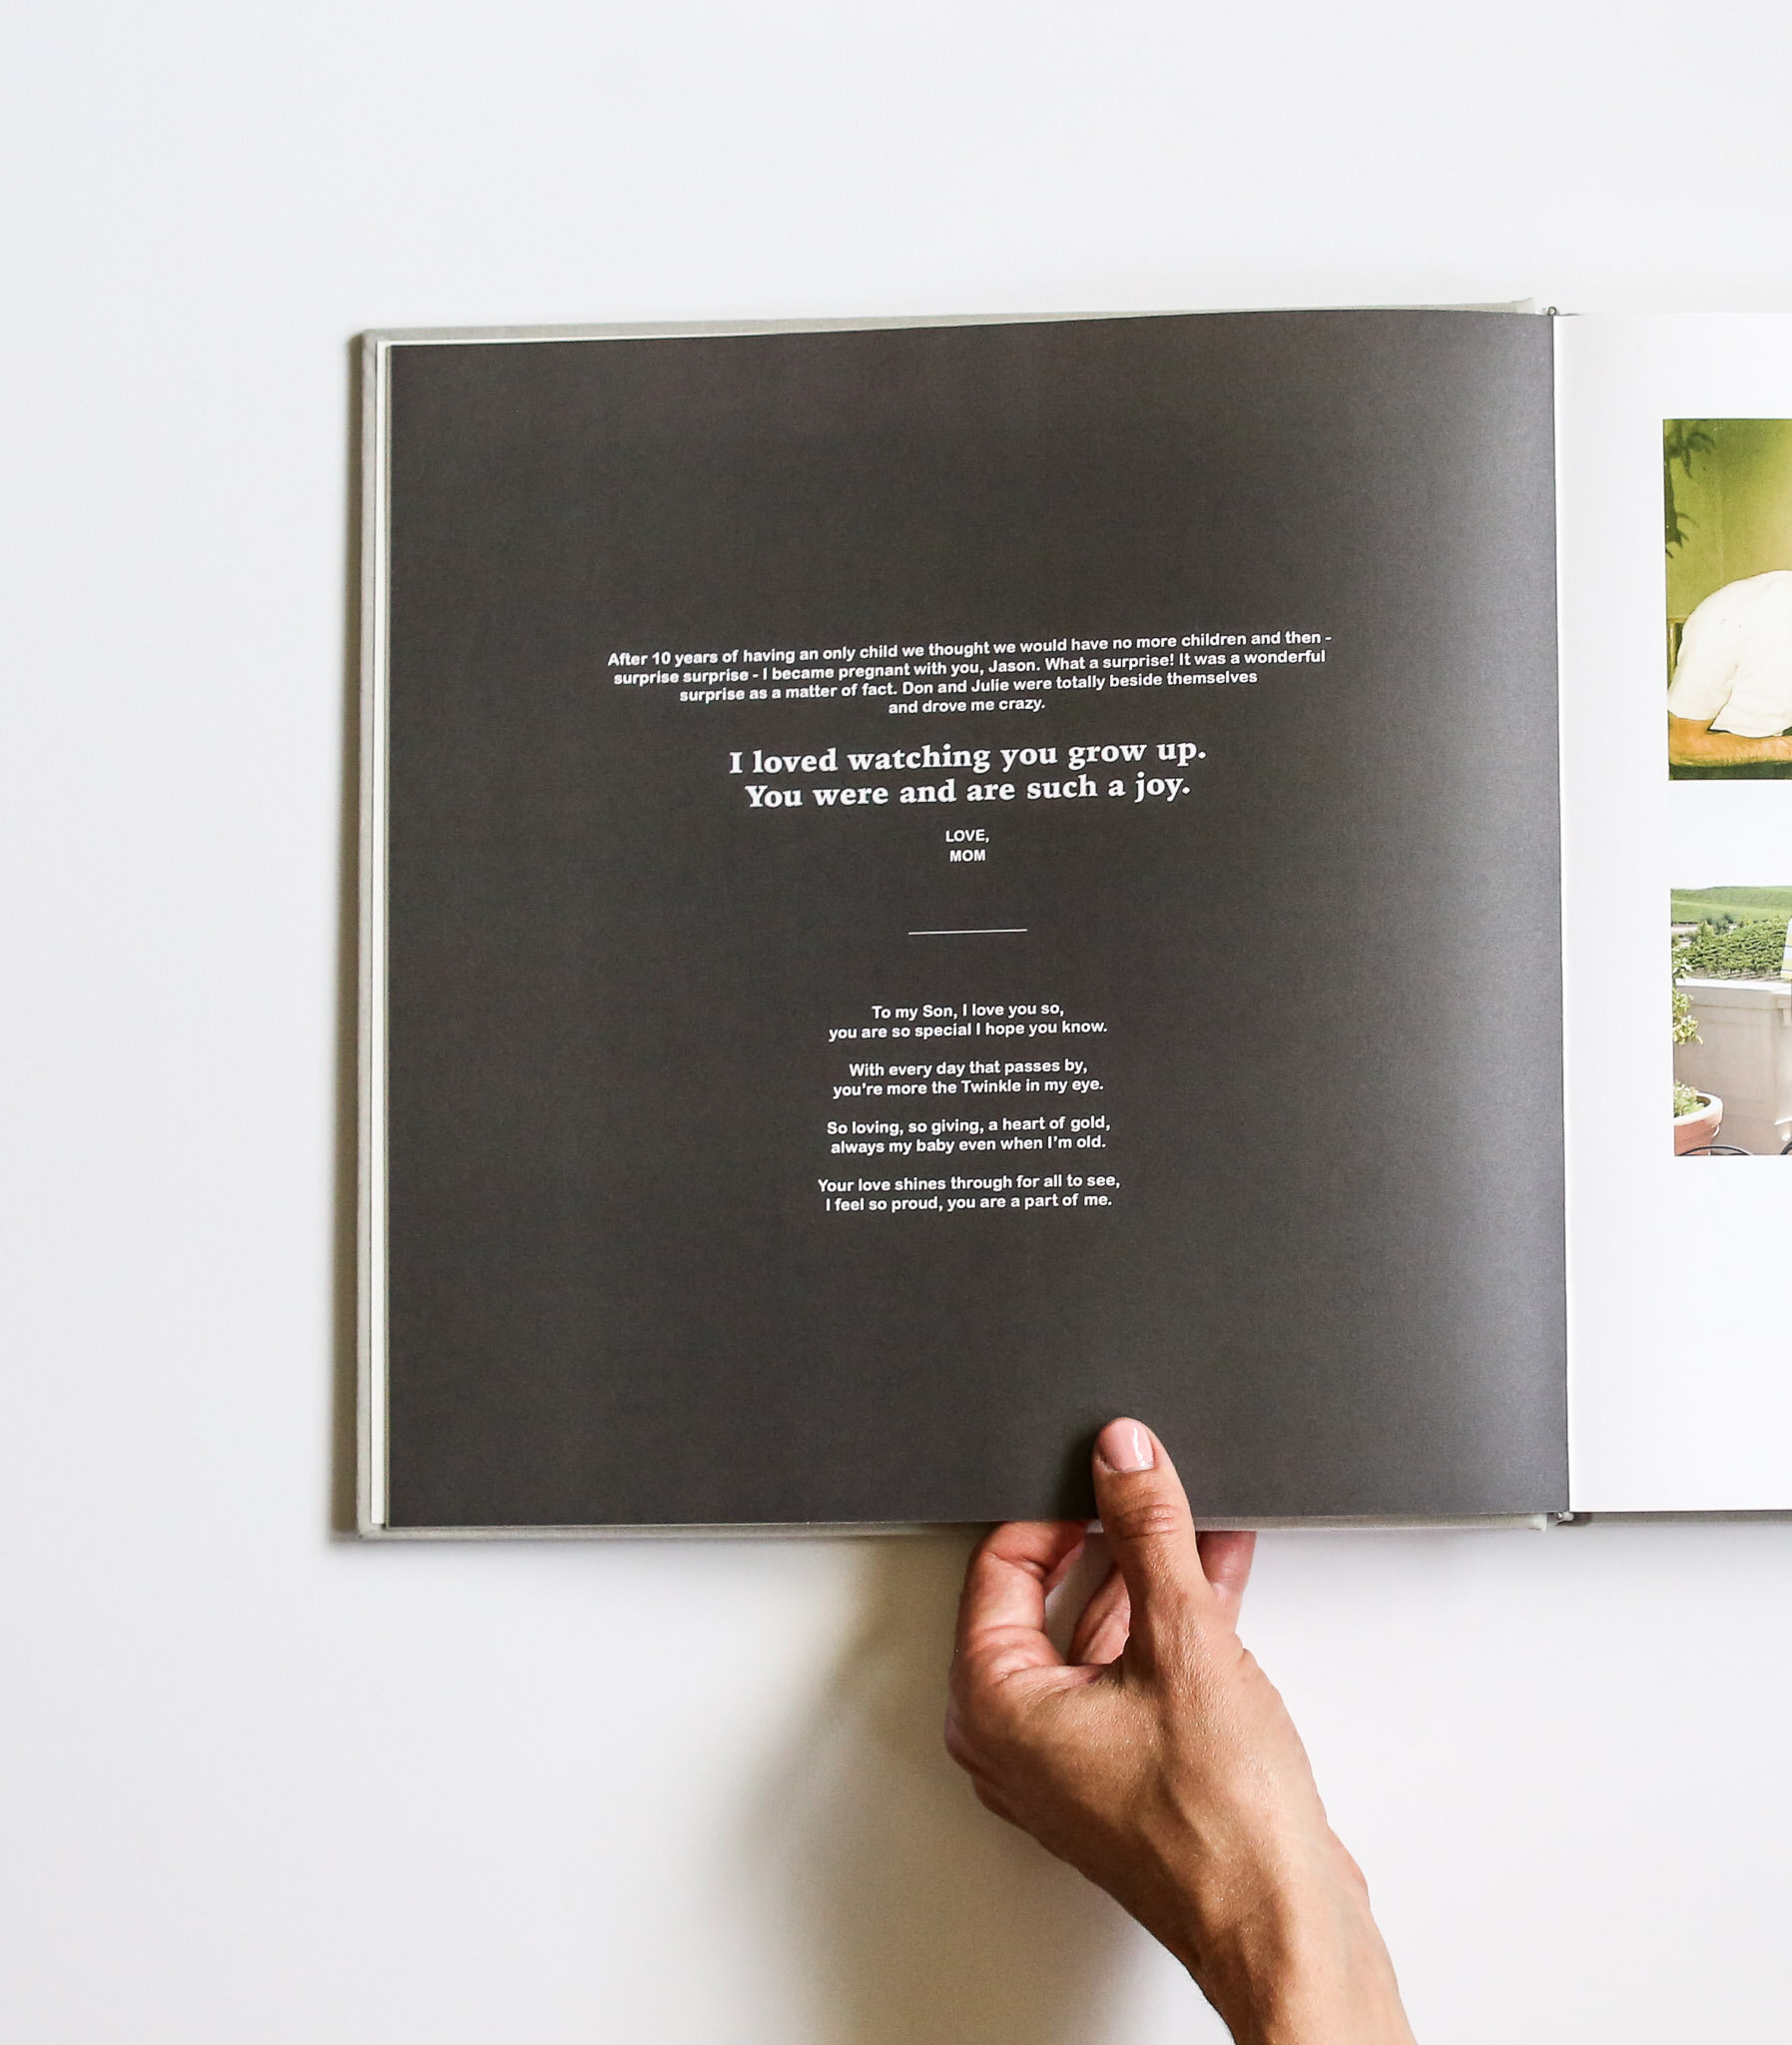
I like to combine all the written materials into one Google Doc. That way, I can easily access everything for the project in one, centralized spot.
From there, I’ll copy-and-paste notes or quotes (whatever you’ve asked for!) into the project.
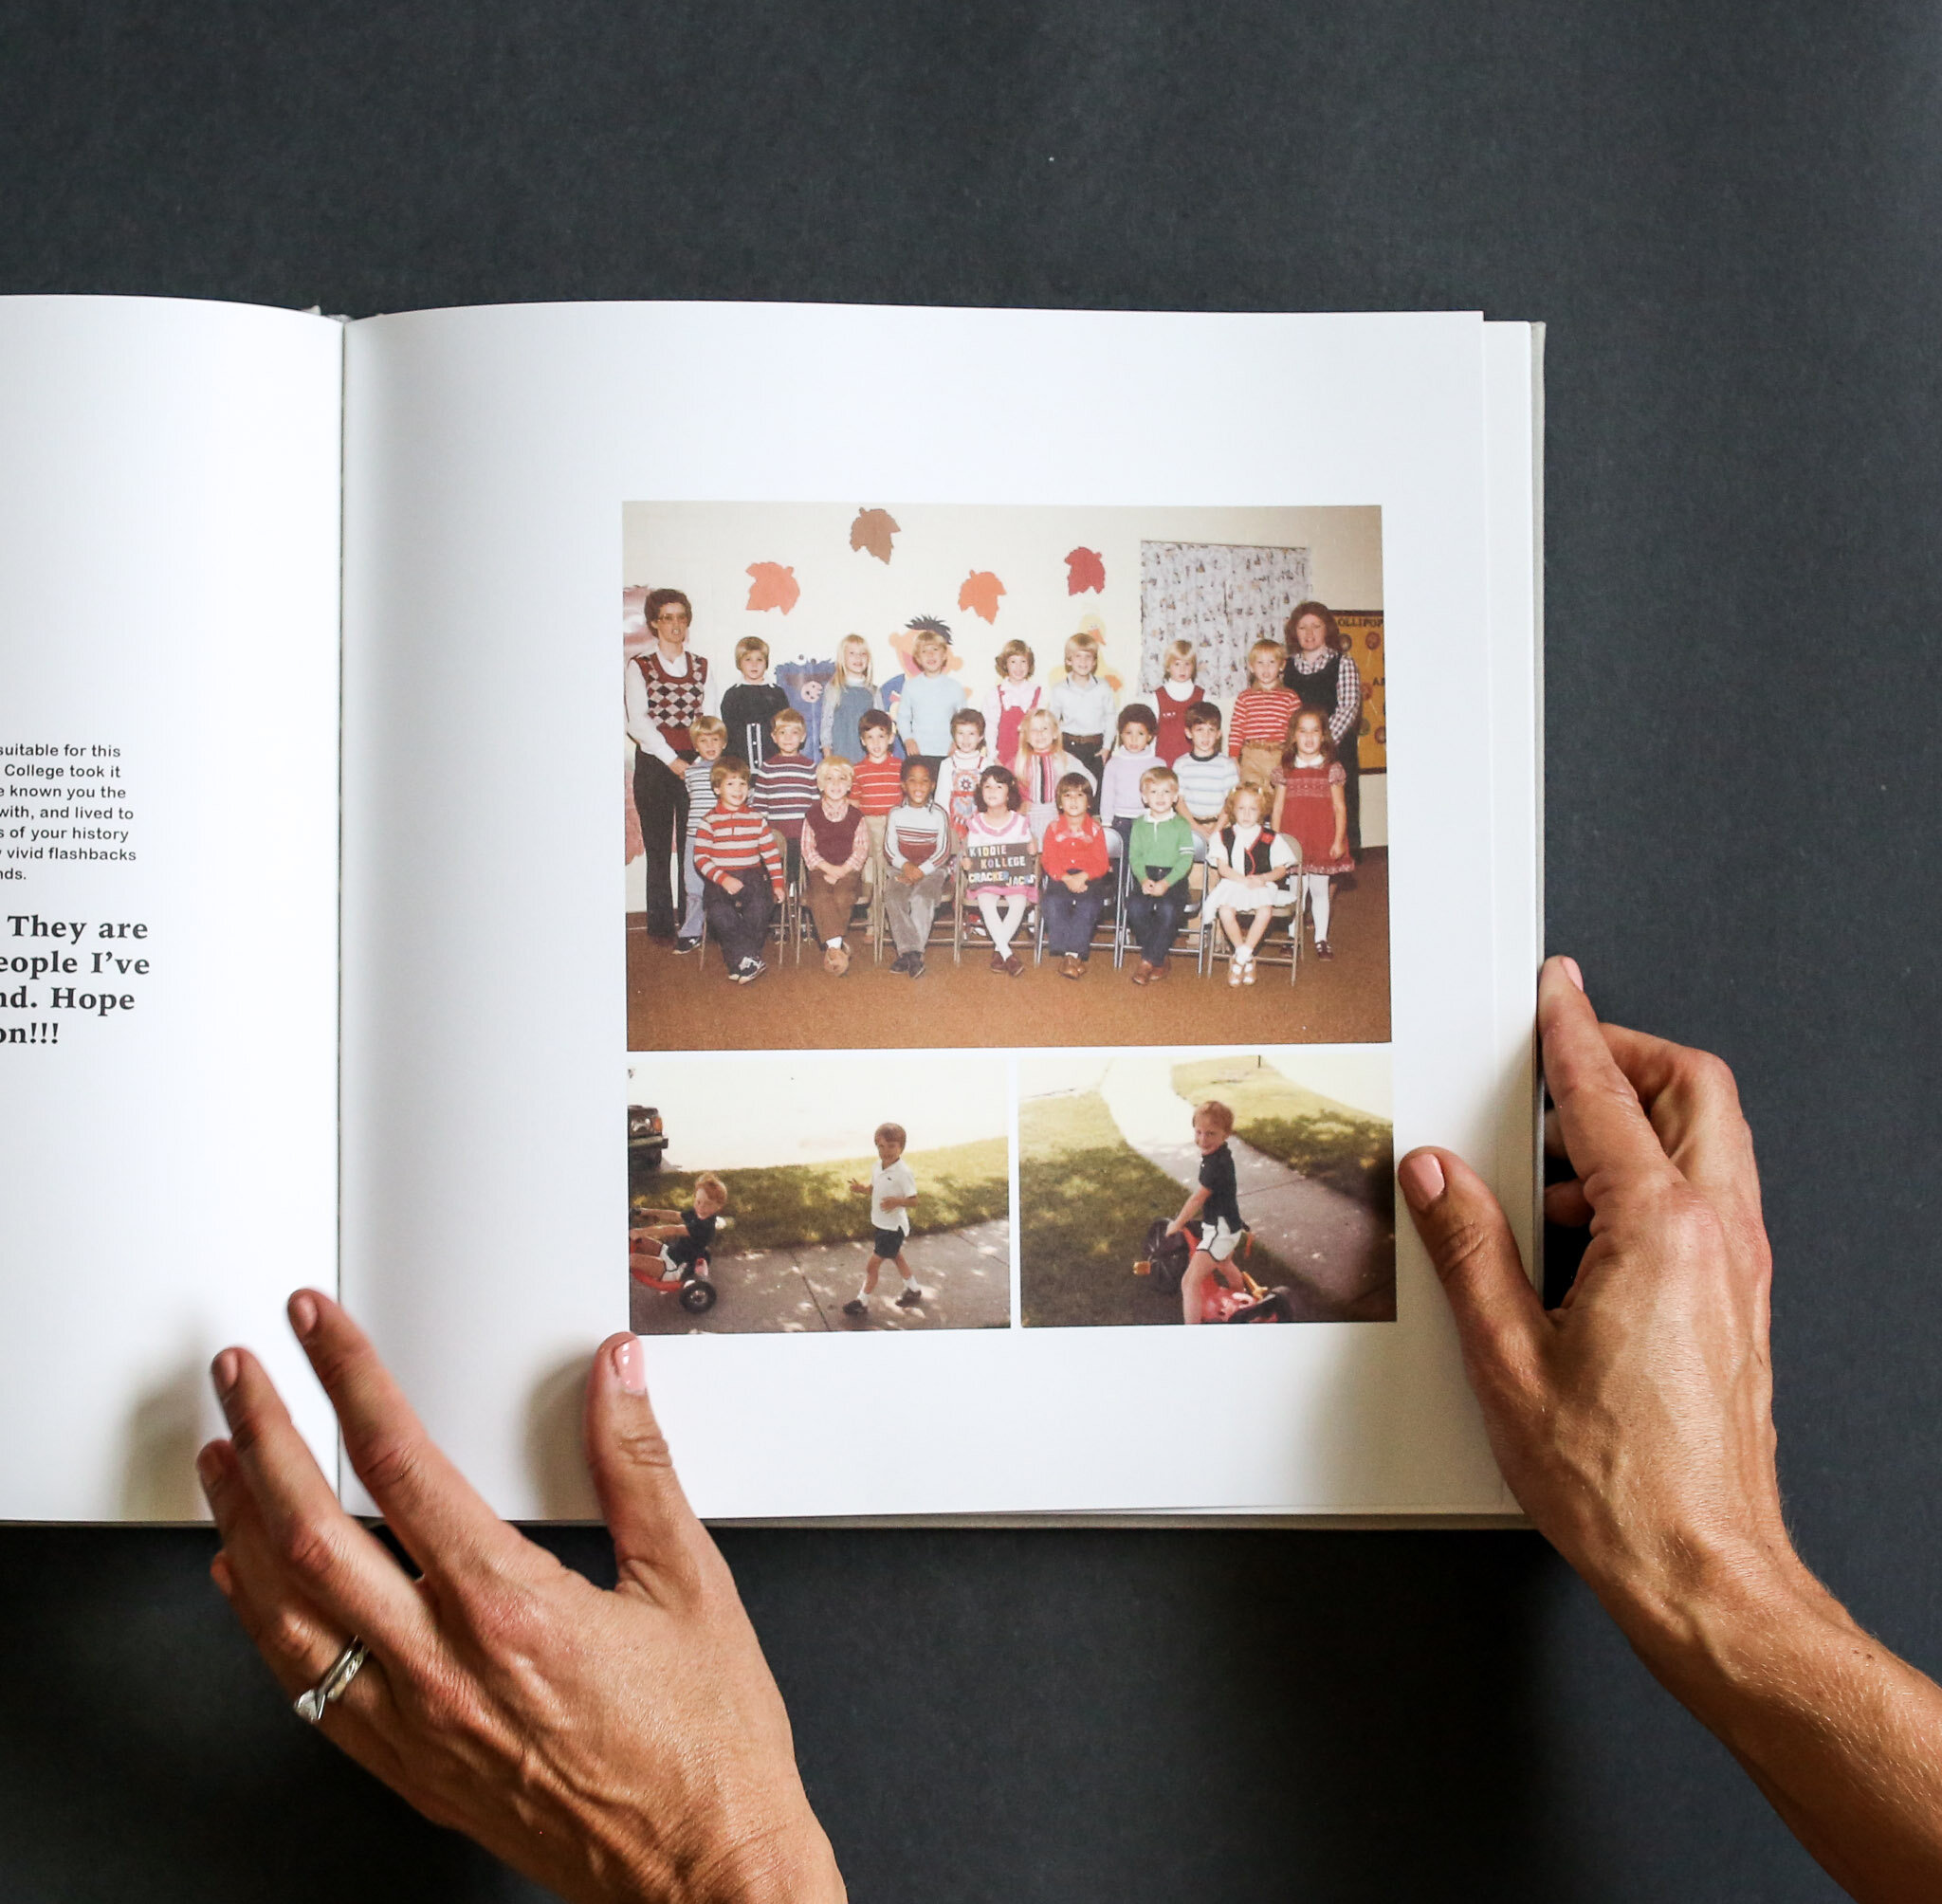
I create custom layouts in Adobe Illustrator, but you could easily add personalized notes to a photobook using text boxes or captions. No custom design needed!
Prep the photos
I import project photos into one album in Lightroom and edit them before adding them to a project.
Editing gives me a chance to make the project look more cohesive, especially since I’m using photos from lots of different people who all have different cameras and photography styles.
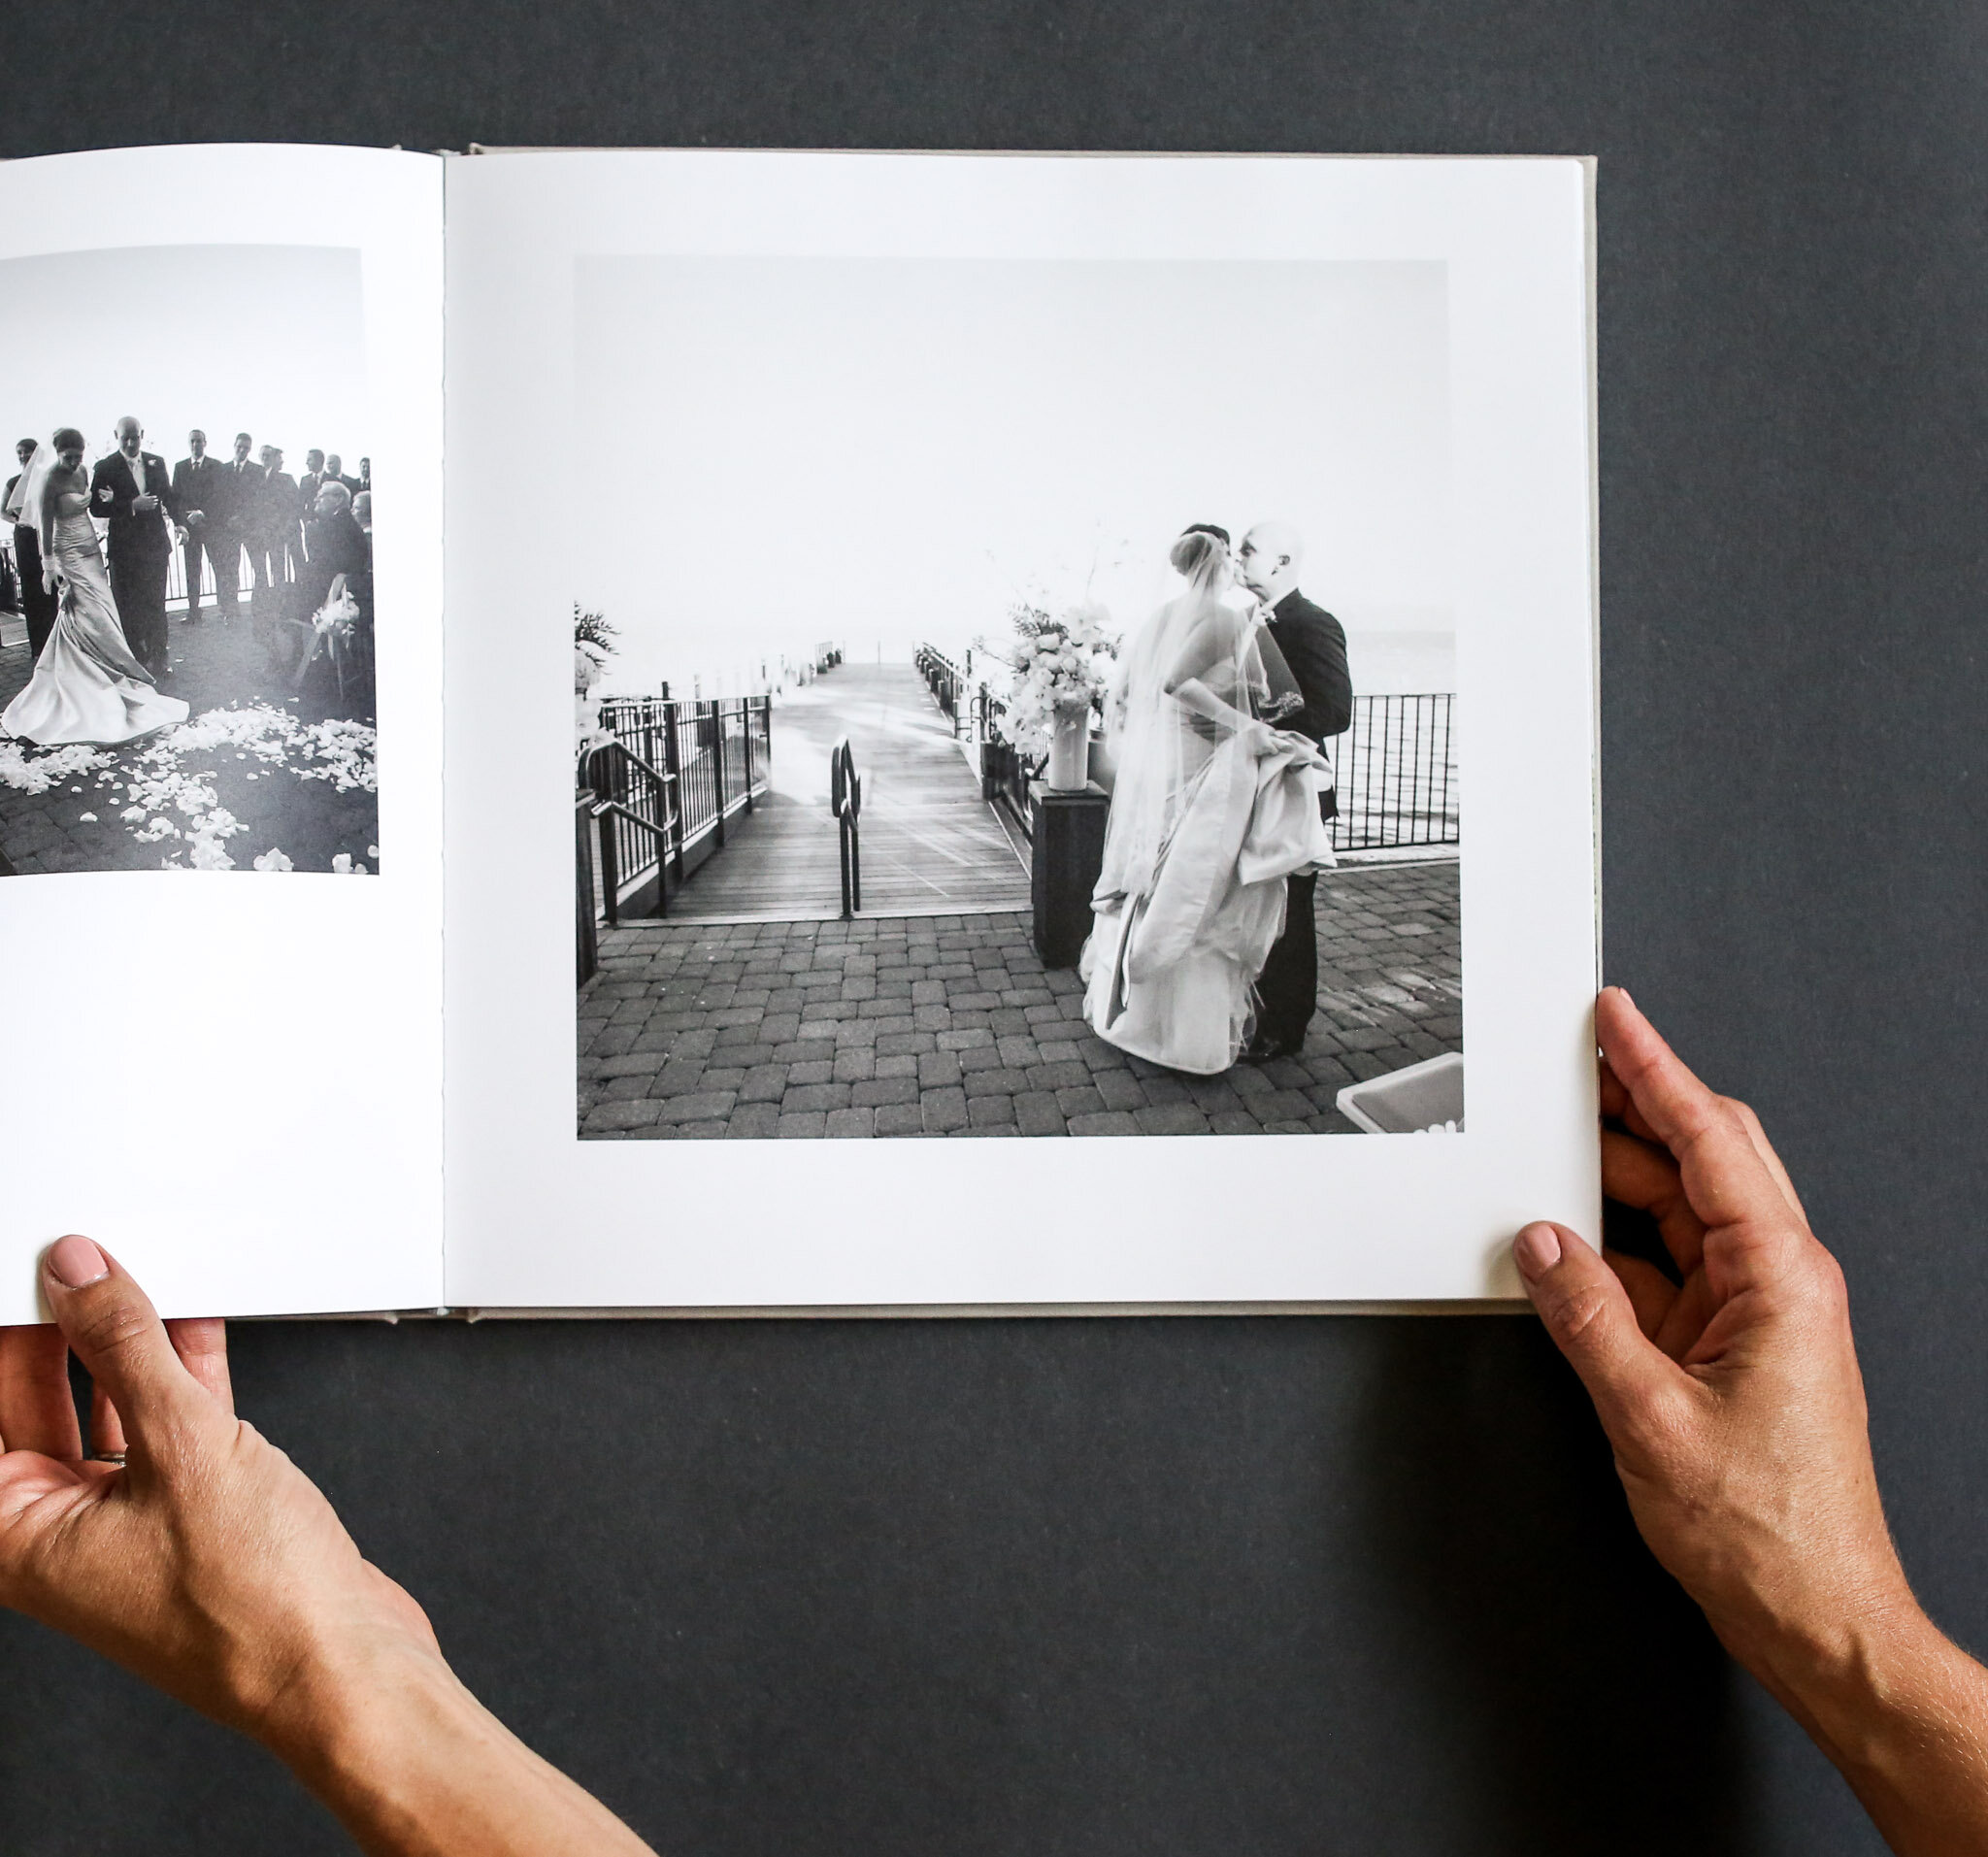
Utilize black and white in your photo editing! It always helps correct bad lighting and can make a project look really polished and minimal.
Get organized
This step is so critical, and if you ignore everything else in this post, this is the thing to not miss.
BEFORE you open the program or website you’ll use to design a photobook, get ALL the photos into one folder.
If you want them in a particular order, rename them so they’re in that order when you upload.
It never fails: someone will email you at the eleventh hour and want to be included because they missed the deadline.
It’s way easier to compile everything BEFORE you import photos into a photobook editor, rather than chasing down a couple photos here or there.
It ensures you don’t miss anyone’s submissions (and it’ll save you a huge headache!).
Step 3 | Design
Now comes the really fun part, when you get to see it all come together.
If you have your photos compiled in one folder on your computer or phone, add them all to your photobook editor.
I like Artifact Uprising for the ease of use and Milk Books when I have a bigger project (more than 100 photos).
I wouldn’t worry about captioning pictures. Keep it really simple. Your recipient will be so happy to flip through a book celebrating them that they won’t care about detailed captions.
Scatter the written sentiments throughout the project.
Sometimes they appear next to a photo of the person writing, sometimes not. I don’t stress about that too much.
The design comes together really quickly when you’ve done the prep work, so don’t skip it!
The more organized you are on the front end, the easier (and more enjoyable) it will be to design the finished project.
Proofread your book and hit publish. Prepare the box of tissues! The person you’re celebrating will treasure this gift for years to come!

Whether you’re new to memory-keeping or looking to simplify your own process, I have a resource for you.
Download my free guide to modern memory-keeping, which includes a one-page checklist you can use for your next project!